>>
30-MINUTE MEALS! Get the email series now →


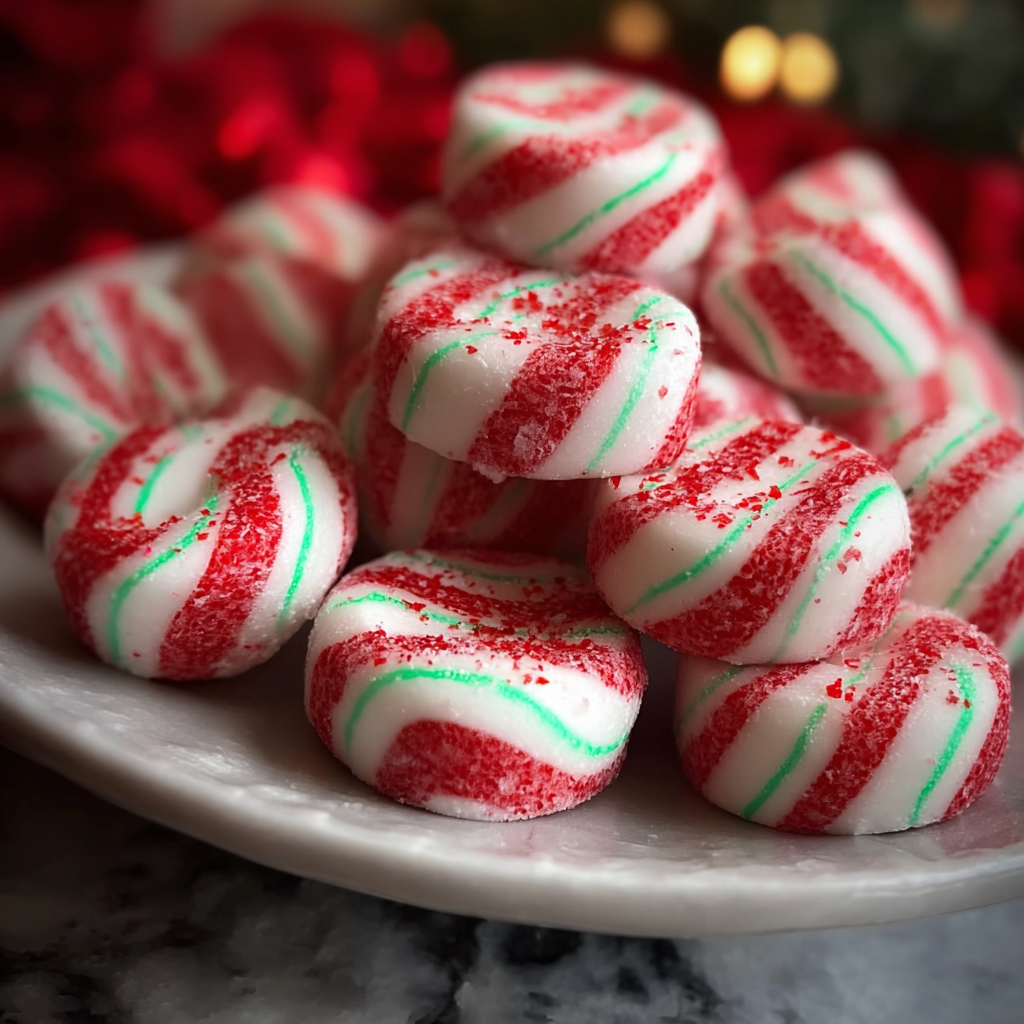
Soft, melt-in-your-mouth peppermint discs with festive red and green swirls, coated in sparkling sugar—perfect for holiday gifts and cookie trays.
This simple, soft peppermint confection has been a holiday favorite in my kitchen for years. I first made these on a snowy December afternoon when I needed an edible gift for neighbors and did not want to wrestle with temperature-controlled candy making. The result was a pillowy, minty bite that melts on the tongue rather than crackles like hard candy. The texture is more like a soft fondant candy, so it appeals to all ages and stays pleasantly chewy when stored correctly. I discovered the technique by adapting a vintage pressed-mint method and replacing egg white with sweetened condensed milk to get a reliably soft, tender finish.
What makes these especially memorable is how the peppermint flavor comes forward without being overpowering. The granulated sugar coating adds a fine crunch and sparkly presentation that looks great on a holiday platter. The recipe is forgiving: if the dough is slightly too sticky you simply add powdered sugar; if it dries fast, a touch more condensed milk smooths it back. Over the years I have gifted trays of these to friends, brought them to potlucks, and even used them to decorate cakes. They travel well and are a holiday conversation starter every time.
My family always asks for these every December. Once I made a double batch for a holiday bazaar and sold out within an hour. The most surprising reaction was from a neighbor who declared these the best peppermint she had ever had because they were soft and not tooth-shattering. That gentle texture makes them addictive in the best way.

My favorite memory is handing a small tin of these to a new neighbor who had just moved in. Months later she said the scent took her back to childhood holidays. That little moment reminded me how food creates connections faster than words. These candies embody that spirit—simple, nostalgic, and generously shareable.
To preserve texture and flavor, store the peppermint discs at room temperature in an airtight container layered with parchment paper to prevent sticking. Do not refrigerate as moisture from the fridge can make them tacky. For longer storage, freeze in a single layer on a tray until firm, then pack into a freezer-safe container up to three months. Thaw at room temperature for 30 minutes before serving. Look for a dry surface and crisp sugar coating as indicators that they are ready to enjoy.
If you need a dairy-free option, replace sweetened condensed milk with a commercial coconut condensed milk—note the coconut flavor will be present and the texture may be slightly firmer. If you prefer a milder mint, reduce peppermint extract to 1/4 teaspoon or blend with a mild vanilla. Use powdered erythritol blends if you must avoid sucrose; results vary so test a small batch first. For coloring, natural options like beet powder or spirulina offer muted tones but may alter flavor slightly.

Serve these on a holiday platter with cookies and chocolates for contrast in texture. They are lovely tucked into cellophane bags tied with ribbon as edible gifts. Pair with hot chocolate or coffee; the peppermint brightens warm beverages. For party displays, stack in paper muffin cups and arrange with evergreen sprigs for a festive presentation.
Mint-flavored confections have long been associated with European and American winter traditions, where preserved flavors and simple sugar work were popular during holidays. These soft peppermint discs recall pressed mints once made in small tins and twisted candy aesthetics akin to candy canes. The modern take uses sweetened condensed milk as a convenient binder, a technique popular in mid-century American home cookbooks for no-bake sweets.
In summer, swap peppermint for citrus oils and tint with pastel colors for a sunny palette. For Valentine gifts, use red and white only and add a hint of raspberry extract. For an adult twist during holiday parties, add a few drops of peppermint schnapps to a small test batch for boozy mints—use cautiously as alcohol thins the dough and may require extra powdered sugar.
Make these in large batches a day or two before guests arrive. Roll ropes and assemble the twists, then dry overnight. Package in small tins with parchment separators for quick distribution. Label containers with the date and flavor if you vary extracts. Keep one batch on a tray at serving time and replenish from sealed containers to maintain presentation and prevent exposure to humidity.
These soft peppermint discs are a festive staple that are forgiving to make and delightful to give. Try them this season, personalize the colors, and watch them become a small tradition you return to year after year.
Sift powdered sugar thoroughly to avoid grainy texture in the finished candy.
Use gel food coloring to tint without altering dough hydration.
If dough is sticky, add powdered sugar one tablespoon at a time until pliable.
Dry candies at room temperature rather than in the fridge to preserve texture.
This nourishing soft christmas peppermints recipe is sure to be a staple in your kitchen. Enjoy every moist, high protein slice — it is perfect for breakfast or as a wholesome snack any time.
Yes. Store in an airtight container at room temperature for up to two weeks. Do not refrigerate.
They are best left to dry overnight on parchment at room temperature. If you need them sooner, allow at least 4 hours but texture will be firmer with more time.
Recipe data validation failed
Please check the recipe data format. See console for details.

Buttery puff pastry rolled with tangy cream cheese, bright cranberries, salty feta and fresh herbs — effortless, elegant pinwheels perfect for gatherings or a cozy snack.

A simple, reliable dough that produces a crispy exterior, chewy interior and those coveted bubbly pockets — perfect for home ovens or a pizza stone.

Tender chicken breasts wrapped in prosciutto and sage, pan-seared and finished in a bright wine-and-broth sauce — a quick, elegant weeknight favorite.
Leave a comment & rating below or tag @moodcooks on social media!
Enjoyed this recipe? Share it with friends and family, and don't forget to leave a review!
This recipe looks amazing! Can't wait to try it.
Comments are stored locally in your browser. Server comments are displayed alongside your local comments.

Join to receive our email series which contains a round-up of some of our quick and easy family favorite recipes.