>>
30-MINUTE MEALS! Get the email series now →


A crowd-pleasing twist on classic tacos: seasoned beef stuffed in crisp shells, topped with melted cheese and fresh garnishes. Fast, family-friendly, and perfect for weeknights or parties.
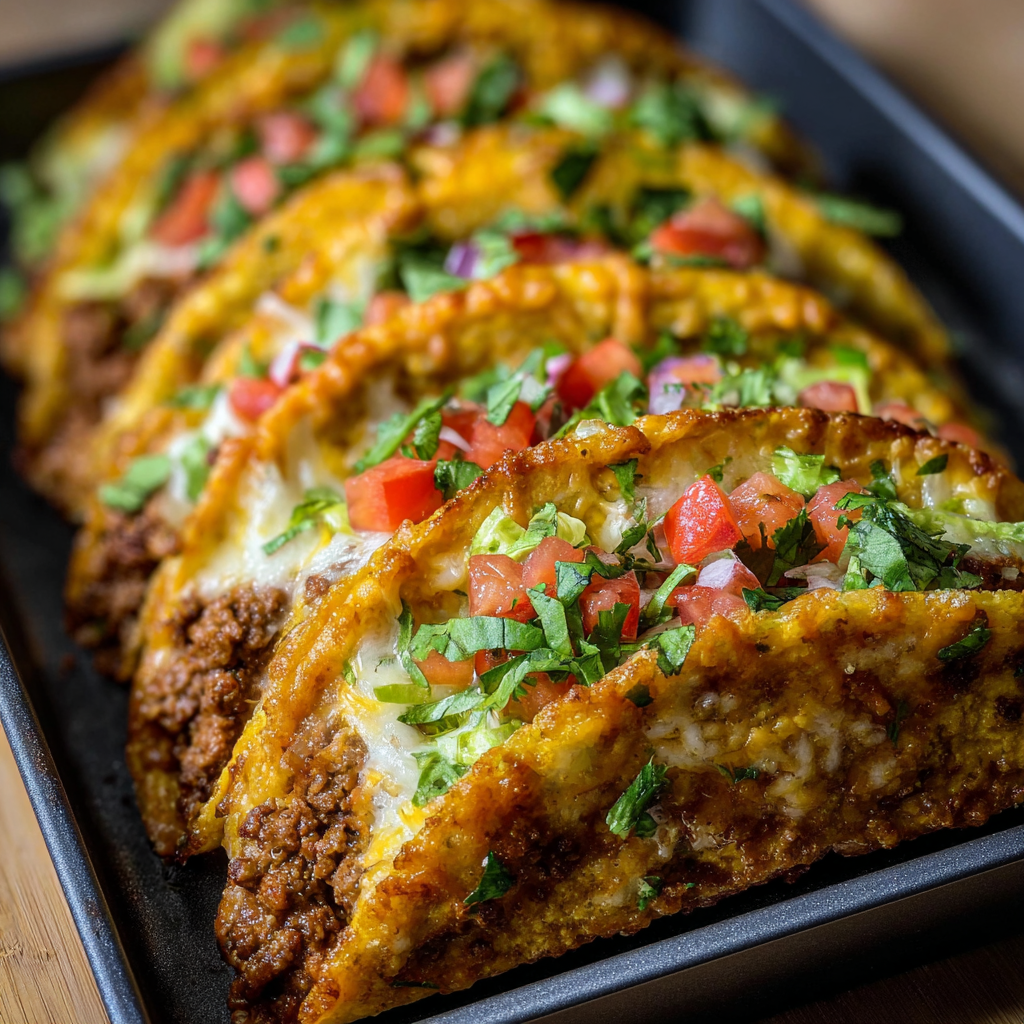
This oven-baked cheesy tacos dish became my go-to when I needed something that combined the handheld fun of tacos with the melty comfort of baked cheese. I first put this together on a hectic weeknight when I had a hungry teenager, a tired partner, and not much time — the result was an instant hit. The beef is richly seasoned, the shells stay crisp even after baking when handled correctly, and the cheese melts into a golden blanket that keeps everything together. It’s become a staple for casual dinners and small gatherings where people want full flavor without a long cook time.
What I love most about this version is the balance of textures and flavors: the slight salt and spice of the taco seasoning, the juicy tomato tang from a little salsa or tomato sauce, and the crunch of hard shells contrasted with the creamy cheese and cool shredded lettuce. I discovered a key trick — warming the shells briefly before stuffing helps keep them from cracking during assembly and makes the final oven time much shorter. Over the years I’ve refined the seasoning ratios and topping combinations so the family always asks for seconds. Read on for step-by-step techniques, storage guidance, substitutions, and tips to make these your new weeknight hero.
In my house these became the VIPs of dinner rotation. I first made them for a casual dinner party and a guest declared them the best take on tacos they’d had at home. My partner appreciated the make-ahead option, while my kids loved adding jalapeño slices and drizzling hot sauce. The combination of convenience and flavor is why we keep coming back to this version.
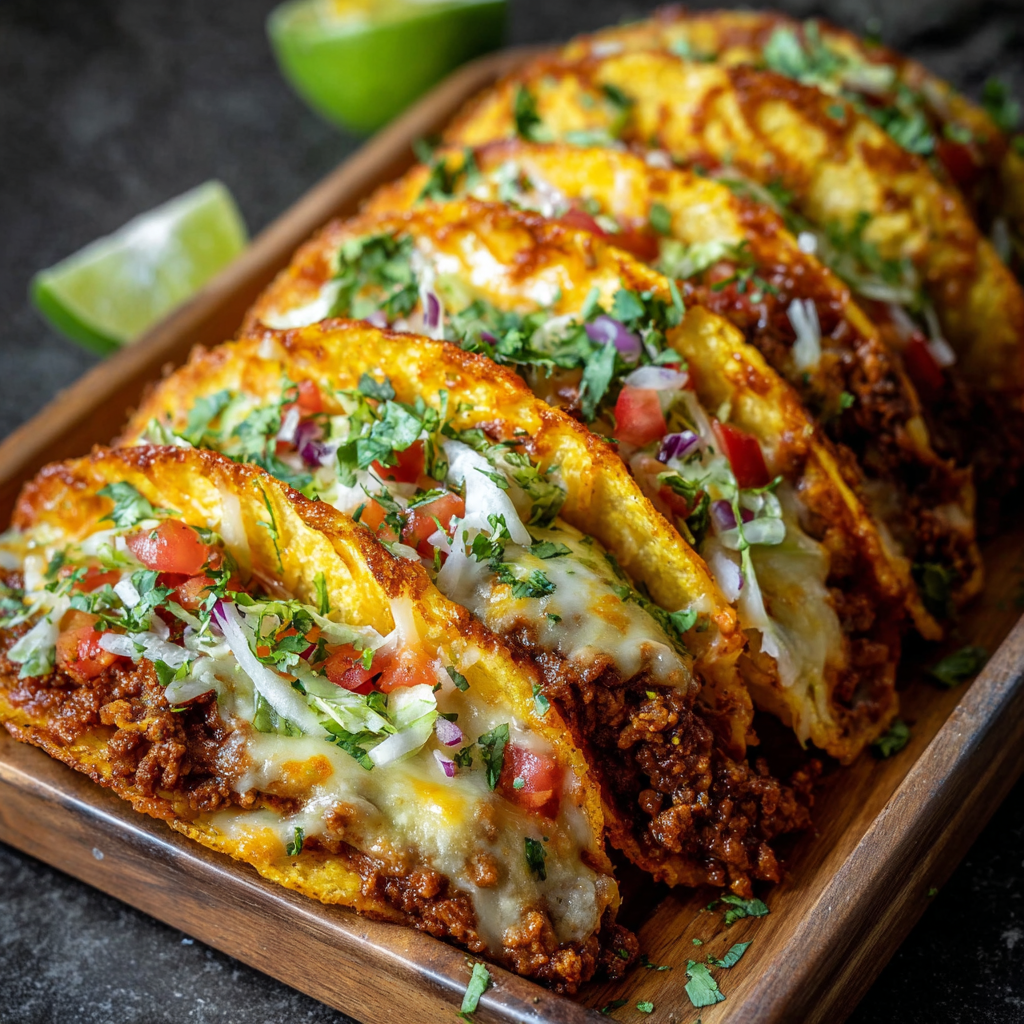
My favorite thing about this method is how reliably it produces a perfect melt and a crisp shell — that combination of textures makes every bite noteworthy. I’ve learned that slightly underfilling shells and ensuring the meat is thick, not watery, stops the dreaded soggy-bottomed taco. Family members often ask if they can help assemble because the setup is simple and fast, turning dinner prep into a shared activity.
Store the cooled beef filling separately from shells and fresh toppings for best quality. Place the cooked beef in an airtight container and refrigerate for up to 3 days; freeze for up to 3 months in a labeled freezer-safe bag. Keep shells in their original packaging or an airtight container at room temperature to maintain crispness. For reheating, place assembled tacos on a baking sheet in a preheated 350°F oven for 8–10 minutes to revive the crunch and remelt the cheese. Avoid microwaving fully assembled tacos — it makes shells soft and less enjoyable.
Swap ground beef for ground turkey, chicken, or a plant-based crumbled meat substitute for dietary needs — adjust seasoning and a touch of oil for leaner proteins. Use corn tortillas crisped in the oven if you prefer softer shells; note this increases carbs and reduces crunch. Replace cheese with a dairy-free shredded alternative for lactose-free diets, but expect slightly different melt characteristics. If you’re low-sodium, use a no-salt taco seasoning and add spices individually to taste.
Serve these baked tacos with cilantro-lime rice, black beans, or a crisp cabbage slaw to cut through richness. Garnish with a wedge of lime for brightness and pickled red onions for acidity. For a casual party, lay tacos on a large platter with bowls of condiments — sour cream, guacamole, chopped cilantro, jalapeño slices, and hot sauce — so guests can customize. Two tacos with a side salad makes a balanced weeknight dinner.
Hard-shell tacos are an Americanized interpretation of traditional Mexican tacos, created and popularized in the United States in the 20th century. This oven-baked twist borrows the concept of layered, melted cheese from casseroles while keeping the handheld spirit of tacos. The dish reflects a fusion of convenience and classic flavors, honoring the original seasoning profiles — chili, cumin, garlic — while adapting to busy modern kitchens.
In summer, top tacos with fresh mango salsa or grilled corn for a bright seasonal touch. In cooler months, add a spoonful of warm black bean and roasted pepper mix to the filling for heartier, comforting flavors. Holiday gatherings work well with a make-ahead batch of beef, quickly baked and served with festive salsas like cranberry-chipotle for an inventive twist.
Make the seasoned beef in advance and portion it into 1-cup freezer bags for quick assembly later. Pre-shred cheese and store it airtight in the refrigerator to save time. If prepping for lunches, assemble shells with beef and cheese but omit lettuce and other fresh toppings — add those just before serving to keep everything crisp. Use labeled containers and airtight seals to prevent freezer burn and cross-flavors.
These oven-baked cheesy tacos are a dependable, adaptable addition to any weeknight lineup or casual gathering. They combine speed, flavor, and the kind of comfort that encourages conversation and seconds — give them a try, tweak the toppings to suit your family, and enjoy the smiles that follow.
Warm shells briefly before filling to reduce cracking and improve final texture.
Drain excess fat from the beef but leave one tablespoon for flavor to prevent dryness.
Shred cheese from a block for better melt and flavor compared to pre-shredded varieties.
This nourishing oven-baked cheesy tacos recipe is sure to be a staple in your kitchen. Enjoy every moist, high protein slice — it is perfect for breakfast or as a wholesome snack any time.
Yes. Store cooked beef in an airtight container in the refrigerator for up to 3 days. Reheat and bake assembled tacos to restore crispness.
Freeze the cooked beef in a freezer-safe bag for up to 3 months. Thaw overnight in the refrigerator before reheating and assembling.
This Oven-Baked Cheesy Tacos recipe makes perfectly juicy, tender, and flavorful steak every time! Serve with potatoes and a side salad for an unforgettable dinner in under 30 minutes.
In a large skillet over medium-high heat, brown 1 lb ground beef with 1 small diced onion for 6–8 minutes. Drain excess fat, stir in 2 minced garlic cloves and cook 30 seconds until fragrant.
Add 1 packet taco seasoning and 2/3 cup tomato sauce or salsa. Reduce heat to low and simmer 3–4 minutes until slightly thickened. Taste and adjust salt and pepper.
Preheat oven to 375°F. Warm 8 hard taco shells on a baking sheet for 3–4 minutes to make them pliable and reduce cracking during assembly.
Spoon about 1/4 to 1/3 cup of the beef mixture into each shell. Top each with approximately 1/4 cup shredded cheese so it contacts the meat for even melting.
Bake at 375°F for 8–10 minutes until cheese is melted and bubbling. Remove, cool 2 minutes, then top with shredded lettuce, diced tomatoes, red onion, cilantro, sour cream, guacamole and jalapeño slices as desired.
Last Step: Please leave a rating and comment letting us know how you liked this recipe! This helps our business to thrive and continue providing free, high-quality recipes for you.
Leave a comment & rating below or tag
@moodcooks on social media!
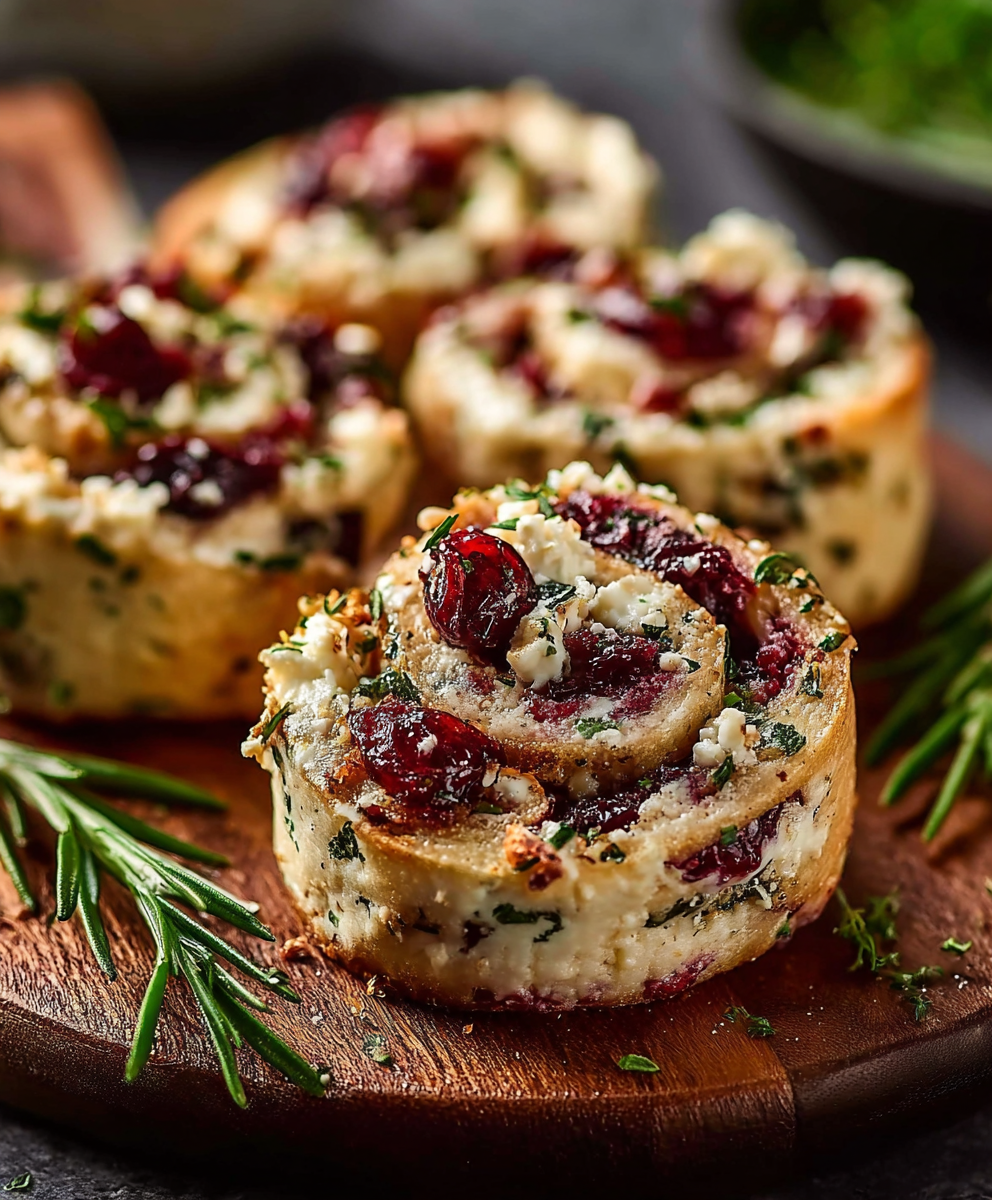
Buttery puff pastry rolled with tangy cream cheese, bright cranberries, salty feta and fresh herbs — effortless, elegant pinwheels perfect for gatherings or a cozy snack.
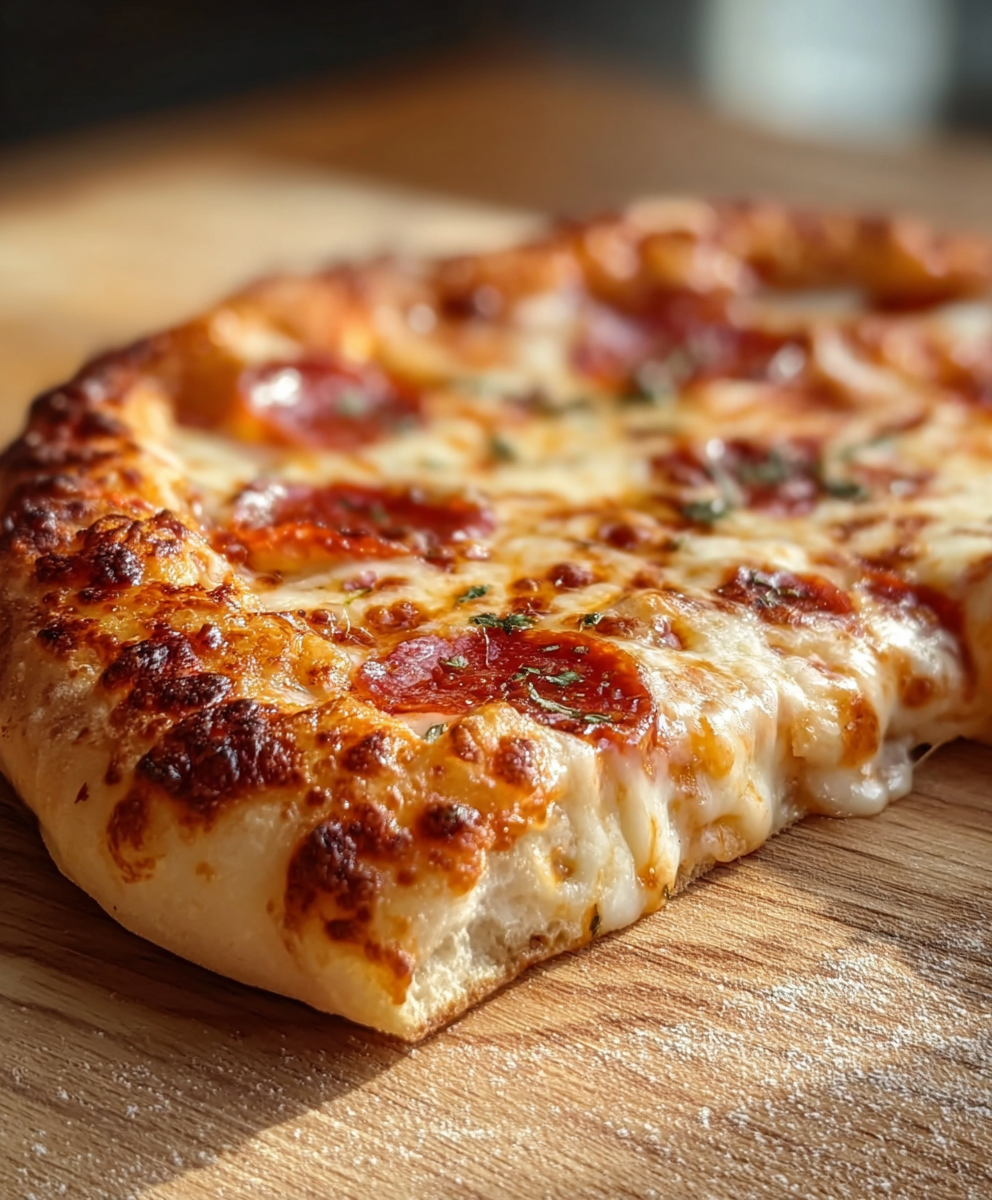
A simple, reliable dough that produces a crispy exterior, chewy interior and those coveted bubbly pockets — perfect for home ovens or a pizza stone.
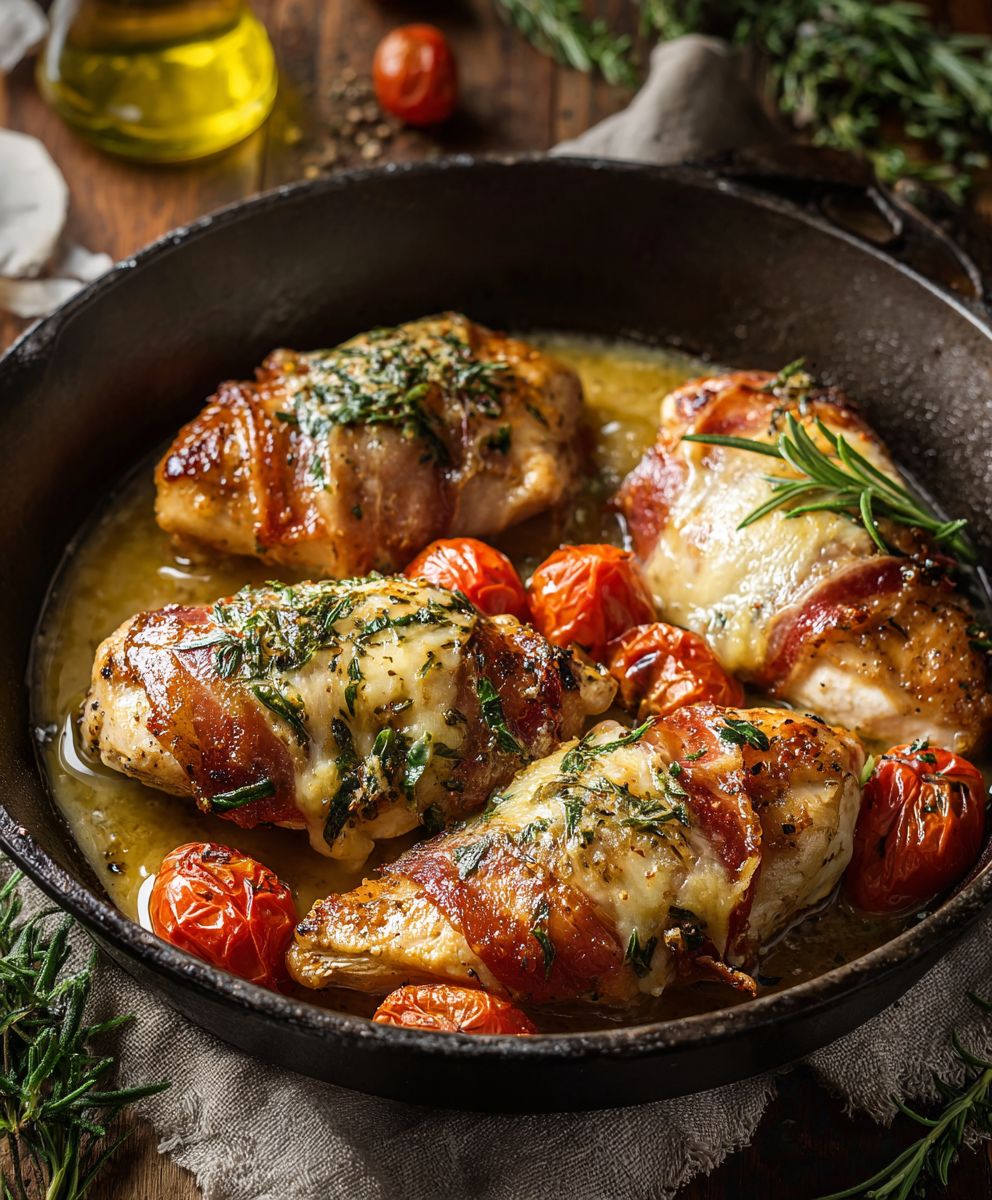
Tender chicken breasts wrapped in prosciutto and sage, pan-seared and finished in a bright wine-and-broth sauce — a quick, elegant weeknight favorite.
Leave a comment & rating below or tag @moodcooks on social media!
Enjoyed this recipe? Share it with friends and family, and don't forget to leave a review!
This recipe looks amazing! Can't wait to try it.
Comments are stored locally in your browser. Server comments are displayed alongside your local comments.

Join to receive our email series which contains a round-up of some of our quick and easy family favorite recipes.