>>
30-MINUTE MEALS! Get the email series now →


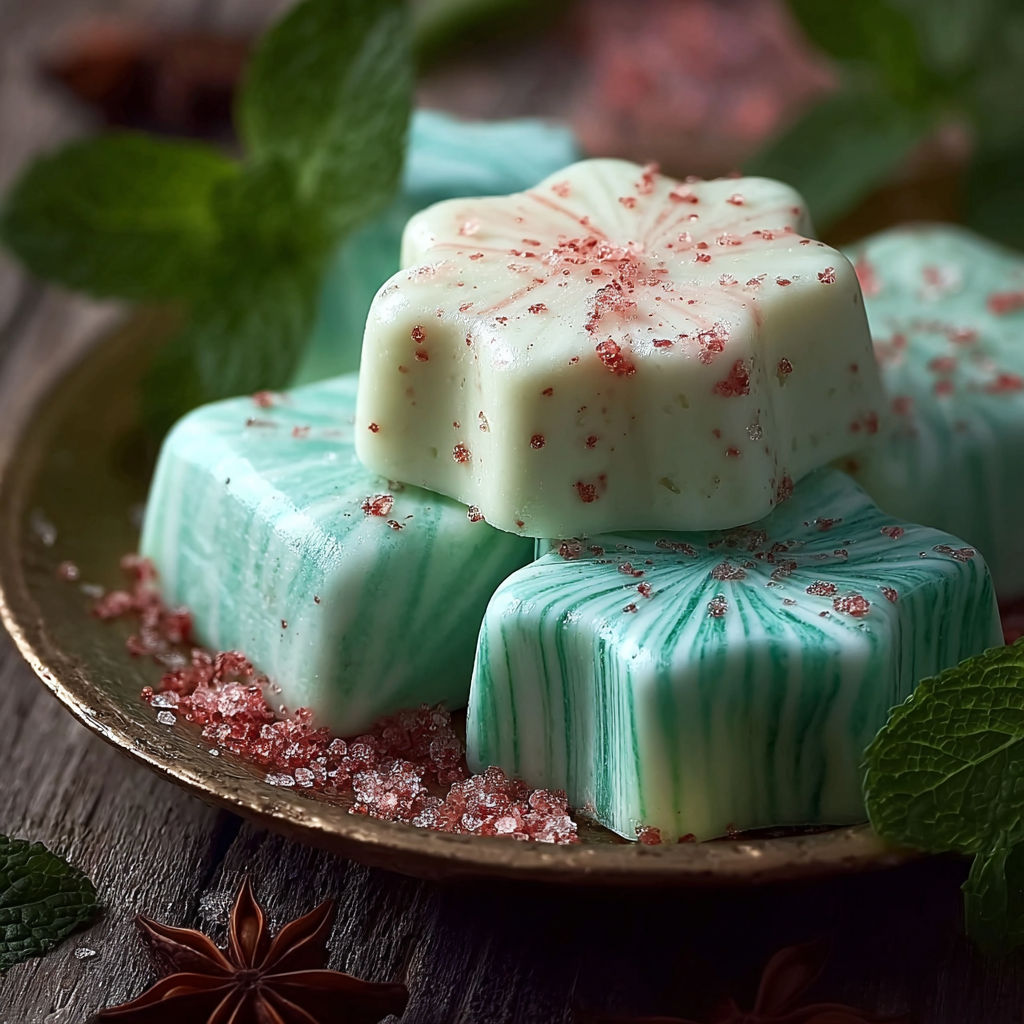
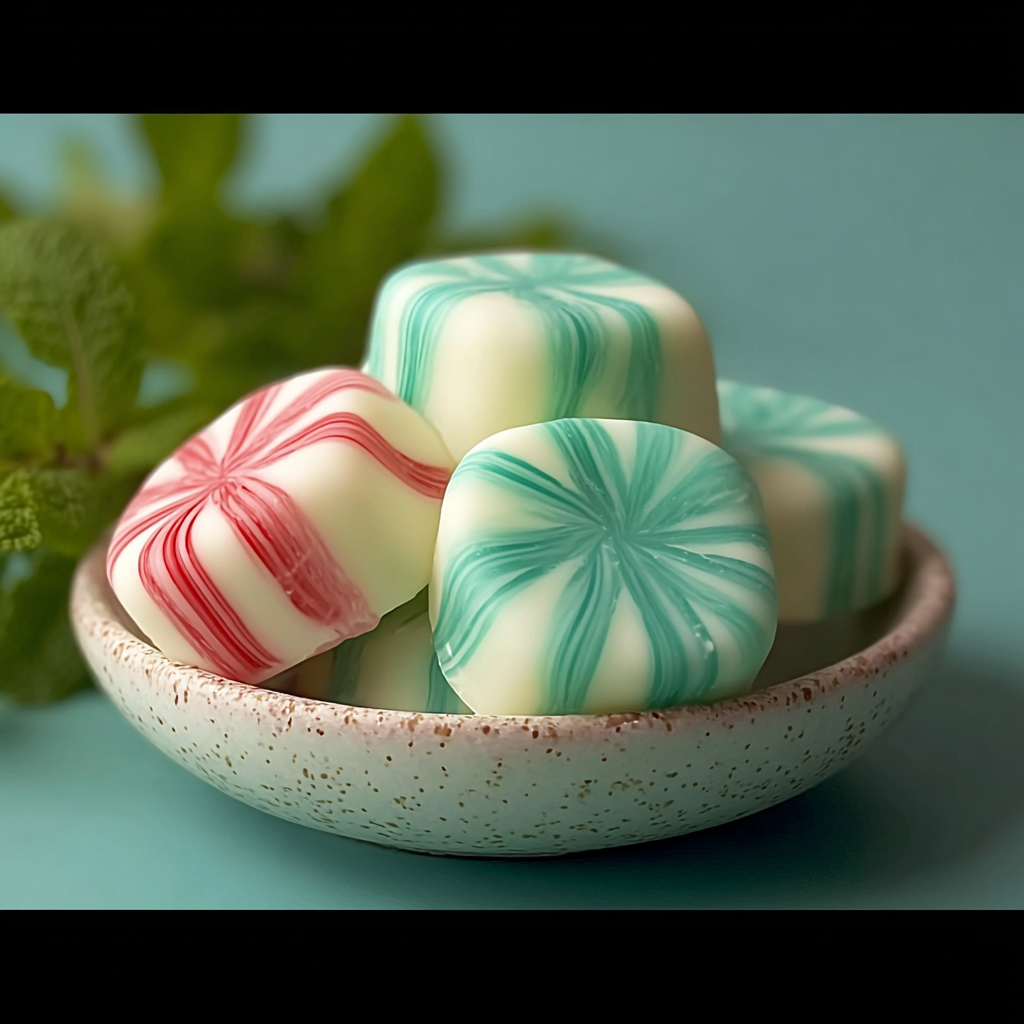
Creamy, melt-in-your-mouth mint butter candies made with powdered sugar, butter, and a hint of peppermint—perfect for gifting, parties, and holiday platters.
This mint butter candy began as a simple experiment in my kitchen when I wanted a quick, unfussy confection to bring to a neighbor's holiday open house. I remember standing at the counter late one evening, sifting powdered sugar and tasting little spoonfuls of the buttery mint mixture until it felt just right. The result was a little pill of sweetness with a fresh peppermint finish that seemed to vanish on the tongue—rich, smooth, and dangerously easy to eat.
What makes these candies special is their texture: silky and spreadable straight from the mixer, then pleasantly firm after a short chill, with a soft melt once they touch your mouth. I first discovered the balance between butter and powdered sugar while adapting a frosting technique; trimming the sugar by using heavy cream instead of milk gave a silkier mouthfeel. Since then, these candies have been my go-to quick gift, my children’s class party staple, and the last-minute addition to holiday cookie trays. Every time I hand them out, people ask for the secret: a good quality butter, a careful sift, and just a whisper of peppermint oil.
In my experience, neighbors appreciate a box of these more than elaborate baked goods because they look polished and store beautifully. The first time I delivered them, a neighbor's toddler insisted on one immediately and declared them the best candy ever. That instant approval sealed the recipe's place in my holiday routine.

My favorite part of making these is the presentation—once chilled, I arrange them in small paper cups and tie a simple ribbon around a box. A memorable batch went to a holiday swap where someone mistook them for marzipan and asked for the recipe. That kind of surprise delight is why I keep this quick method in my back pocket.
Store the candies in a single layer in an airtight container lined with parchment to prevent sticking. Keep them refrigerated for optimal texture; they will keep for up to two weeks chilled. For longer storage, freeze in a single layer on a tray until firm, then transfer to a freezer-safe container with parchment between layers to prevent clumping; freeze up to three months. To thaw, move the container to the refrigerator for a few hours before serving to avoid condensation forming on the surface. For travel, pack candies in a cool insulated tin with a small ice pack if the trip exceeds an hour.
If you need a dairy-free version, substitute a high-quality plant-based stick butter and use full-fat coconut cream instead of heavy cream; expect a slight coconut note. For a lighter mouthfeel, reduce powdered sugar by 1/4 cup and add 1 to 2 teaspoons of cornstarch to maintain structure—this creates a slightly less sweet candy. To change the flavor, replace peppermint with 1/2 teaspoon pure vanilla or 1/4 teaspoon almond extract; for citrus, add 1/2 teaspoon finely grated lemon or orange zest along with 1/4 teaspoon extract.
Arrange these candies on a decorative platter with small paper cups and a sprinkle of crushed candy cane for a seasonal touch. They pair nicely with strong coffee or a minty tea and are a lovely palette cleanser after rich meals. For gift boxes, place two or three candies in kraft paper boxes with tissue paper; they travel well and look elegant when tied with twine.
Mint-flavored butter sweets have roots in simple European confection traditions where butter, sugar, and flavoring were combined into small confections for special occasions. The technique of creaming butter with sugar echoes icing and marzipan methods, but this version is distinctly American in its simplicity and speed—ideal for modern home cooks who want a handmade treat without extensive candy-making equipment.
For winter holidays, add a few drops of red gel to alternate pieces for a festive two-tone tray. In spring, swap peppermint for lemon or lavender and tint pale yellow or violet for a seasonal offering. For Halloween, use orange gel and a tiny dash of cinnamon to create a warming variation. Each season benefits from minor flavor tweaks while preserving the smooth, buttery base.
Make a double batch and portion candies into small airtight containers for hostess gifts or emergency dessert add-ons. Prepare the mixture the evening before and chill in a covered bowl; next day scoop, shape, and chill again for quick finishing. Use disposable piping bags for fast cleanup if you are making several batches for events.
These candies are ideal for sharing. Try making a variety tray with peppermint, vanilla-citrus, and almond-flavored pieces so guests can sample multiple flavors. Enjoy the process and tailor the finishing touches to your occasion.
Final note: these simple butter candies are a quick way to make something that feels homemade and thoughtful. Whether you are filling tins, adding to dessert platters, or teaching a child how to press a piped rosette, they reward the few minutes of attention with bright smiles and repeat requests.
Sift powdered sugar to prevent gritty texture and to make the mixture smooth quickly.
Use softened butter at room temperature for easy creaming; if butter is too soft, chill briefly to firm up before piping.
Chill shaped candies for at least 30 minutes to set; freezing for 10 minutes speeds the process without over-hardening.
Use gel food coloring for bright, concentrated color without thinning the mixture.
If piping, twist the bag top to maintain even pressure and keep the tip centered for uniform shapes.
This nourishing mint butter candy recipe is sure to be a staple in your kitchen. Enjoy every moist, high protein slice — it is perfect for breakfast or as a wholesome snack any time.
Yes. Store in an airtight container in the refrigerator for up to two weeks, or freeze for up to three months.
Use 1/4 teaspoon peppermint oil instead of extract and reduce to taste; oils are more concentrated so add slowly.
They can be piped with a round or small star tip or scooped and rolled by hand; chilling briefly helps the shapes hold.
This Mint Butter Candy recipe makes perfectly juicy, tender, and flavorful steak every time! Serve with potatoes and a side salad for an unforgettable dinner in under 30 minutes.
Line a baking sheet with parchment or a silicone mat and gather a sifter, spatula, piping bag or spoon, and measuring tools so assembly moves smoothly.
Sift 4 cups powdered sugar into a large bowl to aerate and remove lumps; a smooth sugar base prevents grainy texture in the finished candies.
Beat 1/2 cup softened unsalted butter on medium speed for 1 to 2 minutes until pale and slightly fluffy; this incorporates air for a tender texture.
Add 1 tablespoon heavy cream (or milk), 1/2 teaspoon peppermint extract, and a pinch of salt. Mix briefly to combine and ensure even distribution of flavor.
With the mixer on low, add sifted powdered sugar in two to three additions, scraping the bowl between additions. Increase speed and beat until smooth and pipeable.
Pipe or scoop teaspoon-sized portions onto the prepared sheet, cover loosely, and chill for at least 30 minutes until firm. For faster setting, freeze for 10 minutes then refrigerate.
Last Step: Please leave a rating and comment letting us know how you liked this recipe! This helps our business to thrive and continue providing free, high-quality recipes for you.
Leave a comment & rating below or tag
@moodcooks on social media!

Buttery puff pastry rolled with tangy cream cheese, bright cranberries, salty feta and fresh herbs — effortless, elegant pinwheels perfect for gatherings or a cozy snack.

A simple, reliable dough that produces a crispy exterior, chewy interior and those coveted bubbly pockets — perfect for home ovens or a pizza stone.

Tender chicken breasts wrapped in prosciutto and sage, pan-seared and finished in a bright wine-and-broth sauce — a quick, elegant weeknight favorite.
Leave a comment & rating below or tag @moodcooks on social media!
Enjoyed this recipe? Share it with friends and family, and don't forget to leave a review!
This recipe looks amazing! Can't wait to try it.
Comments are stored locally in your browser. Server comments are displayed alongside your local comments.

Join to receive our email series which contains a round-up of some of our quick and easy family favorite recipes.