
Magic of Candy Cane Cookies

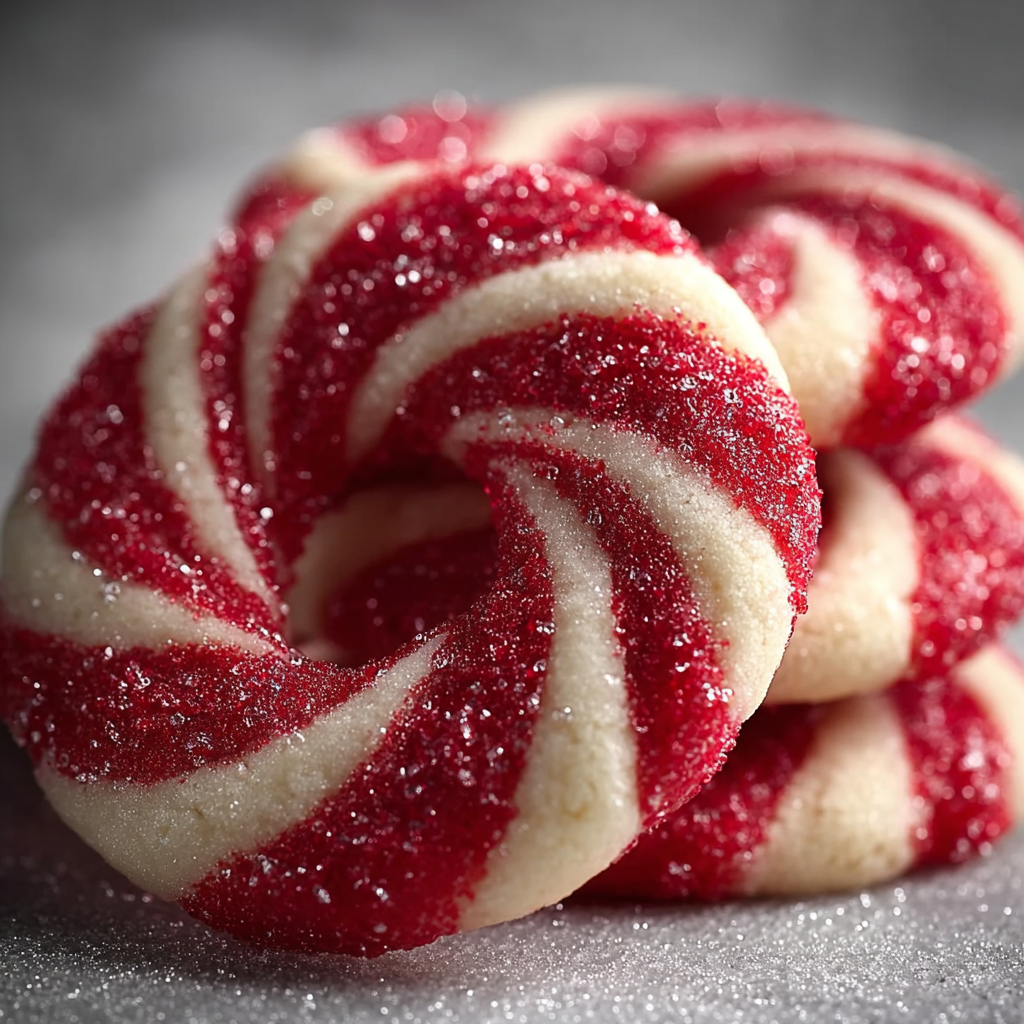
Buttery, peppermint-kissed twisted cookies shaped like little candy canes — a holiday classic you can make at home in under two hours (including chilling).

This recipe for candy cane cookies is one of those holiday projects that started as an experiment and quickly became an heirloom. I found the combination of a tender, buttery shortbread-like dough brightened with peppermint during a frenzied December afternoon when the power went out and the only things left in the pantry were butter, powdered sugar, and a stubborn bottle of peppermint extract. The first dozen emerged imperfectly shaped but impossibly tasty; the second dozen were the real breakthrough. Now they show up at every holiday gathering and make an appearance on our kitchen table the week before Christmas. The texture is delicate, almost melt-in-your-mouth, while the peppermint keeps each bite refreshingly bright.
What makes these treats truly special is how approachable the technique is: no chilling for days, no tempering of chocolate, and no fancy cutters — just two ropes of dough twisted into that familiar cane shape. They hold together well, yet remain soft in the center with a slight crisp at the edge. I've made them with kids at the table, using the red dough to teach simple color theory while they practice rolling ropes. Every family member remembers shaping their first candy cane, and each year somebody asks if they can be part of the shaping team. That warm kitchen memory — flour on the counter, peppermint-scented air — is why I keep making them.
Why You'll Love This Recipe
- Simple pantry ingredients: you need butter, powdered sugar, flour, an egg, and a touch of peppermint — everything most home bakers have on hand.
- Quick active time: about 20 minutes of hands-on work and 10 minutes to bake; chilling is passive and can be used to prep other holiday tasks.
- Kid-friendly shaping: rolling ropes and twisting is a fun, low-risk activity for helpers of all ages.
- Make-ahead friendly: dough can be wrapped and refrigerated for up to 48 hours or frozen for longer storage.
- Beautiful presentation: the red-and-white twist is instantly festive and perfect for cookie exchanges and gift tins.
- Customizable flavor and color: easy to swap peppermint for almond or add cocoa for chocolate-striped canes.
I always bring a tin of these to neighborhood cookie swaps because they travel well and never last long. The combination of a tender crumb and peppermint makes them feel nostalgic but also sophisticated enough for grown-up guests. On my first time making a full batch for a holiday party, a neighbor who usually avoids sweets kept coming back for more — that memory sealed this recipe as a seasonal staple for us.
Ingredients
- Unsalted butter: 1 cup (2 sticks), softened to room temperature. Butter provides the tender, melt-in-the-mouth texture; use a high-quality European-style butter for a deeper flavor if you like.
- Powdered sugar: 1 cup. It dissolves into the butter for a satin-smooth dough; sift if lumpy and measure by spooning into the cup then leveling.
- Egg: 1 large, at room temperature. This binds the dough and adds a slight lift; cold eggs can cause the dough to seize, so let it sit 20 minutes out of the fridge.
- Vanilla extract: 1 teaspoon. Adds warmth and rounds out the peppermint — use pure vanilla for best results.
- Peppermint extract: 1/2 teaspoon. A little goes a long way; use a clean peppermint extract (not oil) and adjust to taste.
- All-purpose flour: 2 1/2 cups. Spoon and level into the measuring cup for accuracy. This amount yields a pliable but non-sticky dough.
- Salt: 1/2 teaspoon. Balances the sweetness and enhances butter flavor.
- Red gel food coloring: a few drops or a toothpick’s worth. Gel gives vivid color without thinning the dough; use sparingly to avoid an artificial taste.
Instructions
Cream butter and sugar: In a large bowl, beat 1 cup softened unsalted butter and 1 cup powdered sugar with an electric mixer on medium-high until pale and fluffy — about 2 to 3 minutes. Scrape the bowl halfway through to ensure even aeration. Proper creaming incorporates tiny air pockets that help the dough lighten and produces a fine crumb. Add egg and extracts: Reduce mixer speed to low and add 1 large room-temperature egg, 1 teaspoon vanilla extract, and 1/2 teaspoon peppermint extract. Beat just until combined; overmixing can develop gluten and make the dough tougher. Taste a tiny dab of the batter to check peppermint intensity and adjust by 1/8 teaspoon if necessary. Combine dry ingredients: In a separate bowl, whisk together 2 1/2 cups all-purpose flour and 1/2 teaspoon salt. Whisking ensures even distribution of salt and helps prevent pockets of unmixed flour in the dough. Incorporate flour into butter mixture: Gradually add the flour mixture to the wet ingredients on low speed, mixing until a soft dough forms. Stop when no dry streaks remain; scrape the bowl to fold in any bits clinging to the sides. The dough should be pliable and not crumbly — add a teaspoon of milk if it seems too dry, or a tablespoon of flour if too sticky. Divide and color: Divide the dough into two even portions. Knead a few drops of red gel food coloring into one half until color is uniform. Use gloves if you’d like to avoid staining your hands. Wrap each portion tightly in plastic wrap and chill at least 1 hour — chilling firms the butter so shapes hold during baking. Shape into candy canes: Preheat oven to 350°F (180°C) and line baking sheets with parchment paper. Roll equal pieces of red and white dough into ropes about 1/4 inch to 1/2 inch thick. Place ropes side by side, twist them together into a spiral, then gently bend the top into the classic cane hook. Work quickly so the dough stays cool; if it becomes too soft, pop it back into the fridge for 10 minutes. Bake and cool: Arrange shapes on the prepared sheet at least 1 inch apart. Bake in the preheated oven for 8 to 10 minutes, just until the edges are set and the centers look slightly soft. Let rest on the baking sheet for 5 minutes, then transfer to a wire rack to cool completely. Cooling on the sheet prevents breakage while the cookies finish setting.
You Must Know
- These cookies freeze well as unbaked ropes for up to 2 months — thaw in the refrigerator before slicing and baking.
- Chilling is essential: it prevents spreading and helps retain the neat striped appearance when baking.
- They are high in simple carbohydrates and butter — enjoy as an occasional treat and store in an airtight tin for up to 5 days at room temperature.
- For perfect color, use gel food coloring; liquid dyes can make the dough too soft and affect shape retention.
My favorite part is watching young helpers roll the ropes: their concentration and tiny flour-dusted fingers always result in charming, imperfect shapes that taste fantastic. At one cookie swap, a neighbor said these reminded her of childhood visits to the local bakery — that kind of nostalgic reaction is exactly why I keep this method in my holiday repertoire.
Storage Tips
Store completely cooled cookies in an airtight container at room temperature for up to 5 days; place parchment between layers to prevent sticking. For longer storage, freeze cooled cookies in a single layer on a sheet pan until firm, then transfer to a freezer-safe bag for up to 3 months. To refresh slightly stale cookies, warm them in a 300°F oven for 3 to 4 minutes to regain a crisp edge while keeping the center tender. If you freeze unbaked ropes, wrap tightly and thaw overnight in the refrigerator before slicing and baking.
Ingredient Substitutions
If you need a dairy-free version, substitute a vegan butter stick with similar fat content and check the powdered sugar for bone char processing if you prefer vegan sugar. For an egg-free adaptation, replace the large egg with 3 tablespoons aquafaba or a commercial egg replacer — the texture will be slightly firmer but still pleasant. Swap peppermint extract for 1 teaspoon almond extract for a nutty twist or add 2 tablespoons unsweetened cocoa powder to one half of the dough for chocolate-striped canes; increase flour by 1 to 2 tablespoons if the cocoa makes the dough softer.
Serving Suggestions
These make a lovely accompaniment to hot cocoa, peppermint tea, or mulled cider. Arrange them upright in mason jars for a festive centerpiece or stack them in small gift boxes with parchment for neighborly presents. Garnish a holiday dessert platter by pairing with gingerbread cookies and chocolate truffles to offer a variety of textures and flavors. For an adult gathering, serve alongside a dessert wine or peppermint-spiked coffee for a grown-up pairing.
Cultural Background
Striped peppermint cookies and candy canes are a relatively modern holiday confection with roots in European sugarcraft and American holiday traditions. The iconic cane shape became popular in the 19th and 20th centuries, evolving from simple stick candies to decorative symbols of the season. Homemade twisted cookies mirror that evolution — they borrow visual language from classic candy while translating it into a butter-rich, bakery-style bake that fits contemporary home kitchens.
Seasonal Adaptations
In winter, stick with peppermint and red coloring for a classic look. For spring celebrations, swap red gel for pastel pink or green and use lemon or almond extract instead of peppermint. For Halloween, make orange-and-black swirls using cocoa and orange extract. Around Valentine’s Day, add a touch of rosewater to the white dough and tint the red dough a deeper crimson. Small changes in extract and color transform the basic technique for year-round use.
Meal Prep Tips
To turn this into a focused cookie prep day, make the dough a day ahead and store wrapped in the refrigerator. On bake day, slice and shape just before guests arrive to keep cookies fresh. Portion dough into small, equal logs before chilling to speed rolling and ensure uniform cookies. Use a kitchen scale to weigh log portions for consistent size, and lay out parchment-lined baking sheets to streamline the baking process in batches.
These candy cane treats are proof that simple techniques and a few thoughtful ingredients can create something that delights across generations. Try making them with family or bring a tin to your next gathering — the smiles they inspire are the best kind of seasoning.
Pro Tips
Chill the dough for at least 1 hour to prevent spreading and preserve the striped appearance.
Use gel food coloring to avoid adding extra liquid that can change dough consistency.
Roll ropes to even thickness (about 1/4–1/2 inch) for uniform baking; use a ruler or guide if you want precise sizing.
If dough becomes soft while shaping, return it to the refrigerator for 10 minutes to firm up.
This nourishing magic of candy cane cookies recipe is sure to be a staple in your kitchen. Enjoy every moist, high protein slice — it is perfect for breakfast or as a wholesome snack any time.
Tags
Magic of Candy Cane Cookies
This Magic of Candy Cane Cookies recipe makes perfectly juicy, tender, and flavorful steak every time! Serve with potatoes and a side salad for an unforgettable dinner in under 30 minutes.
Ingredients
Dough
Coloring
Instructions
Cream butter and sugar
Beat 1 cup softened unsalted butter and 1 cup powdered sugar on medium-high for 2 to 3 minutes until pale and fluffy, scraping the bowl halfway through.
Add egg and extracts
Reduce speed, add 1 large room-temperature egg, 1 teaspoon vanilla, and 1/2 teaspoon peppermint extract. Mix until just combined and taste to adjust peppermint if needed.
Whisk dry ingredients
Whisk 2 1/2 cups all-purpose flour and 1/2 teaspoon salt in a separate bowl to distribute the salt evenly.
Combine flour and wet mixture
Gradually add the flour mixture to the butter mixture on low speed until a soft, pliable dough forms. Adjust with a teaspoon of milk or a tablespoon of flour if needed.
Divide and color dough
Divide the dough into two equal portions. Knead red gel food coloring into one half until uniform. Wrap both portions tightly in plastic and chill at least 1 hour.
Preheat oven and shape
Preheat oven to 350°F (180°C). Roll equal pieces of red and white dough into ropes about 1/4–1/2 inch thick, twist together, and shape into candy canes. If dough softens, refrigerate for 10 minutes.
Bake and cool
Place shapes on a parchment-lined baking sheet and bake 8 to 10 minutes, until edges are set and centers slightly soft. Cool on the sheet 5 minutes before transferring to a wire rack.
Last Step: Please leave a rating and comment letting us know how you liked this recipe! This helps our business to thrive and continue providing free, high-quality recipes for you.
Nutrition
Did You Make This?
Leave a comment & rating below or tag
@moodcooks on social media!
Categories:
You might also like...

Cranberry Cream Cheese Pinwheels with Feta & Herbs
Buttery puff pastry rolled with tangy cream cheese, bright cranberries, salty feta and fresh herbs — effortless, elegant pinwheels perfect for gatherings or a cozy snack.

Artisan Pizza Dough — Crispy, Chewy, Bubbly Crust
A simple, reliable dough that produces a crispy exterior, chewy interior and those coveted bubbly pockets — perfect for home ovens or a pizza stone.

Italian Chicken Saltimbocca
Tender chicken breasts wrapped in prosciutto and sage, pan-seared and finished in a bright wine-and-broth sauce — a quick, elegant weeknight favorite.
Did You Make This?
Leave a comment & rating below or tag @moodcooks on social media!
Rate This Recipe
Share This Recipe
Enjoyed this recipe? Share it with friends and family, and don't forget to leave a review!
Comments (1)
This recipe looks amazing! Can't wait to try it.
Comments are stored locally in your browser. Server comments are displayed alongside your local comments.

Hi, I'm Olivia!
What's Popular

30-Minute Meals!
Join to receive our email series which contains a round-up of some of our quick and easy family favorite recipes.