
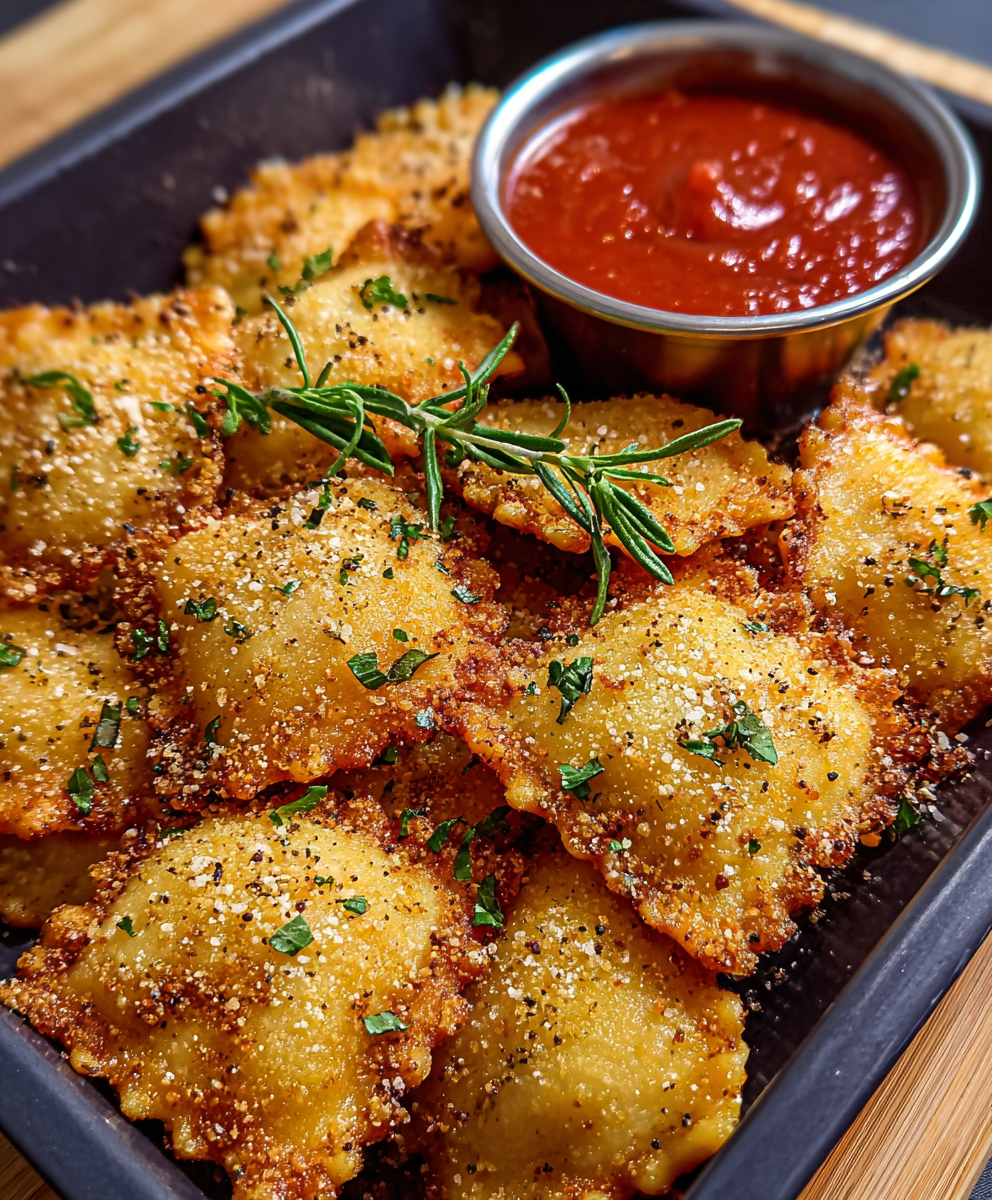
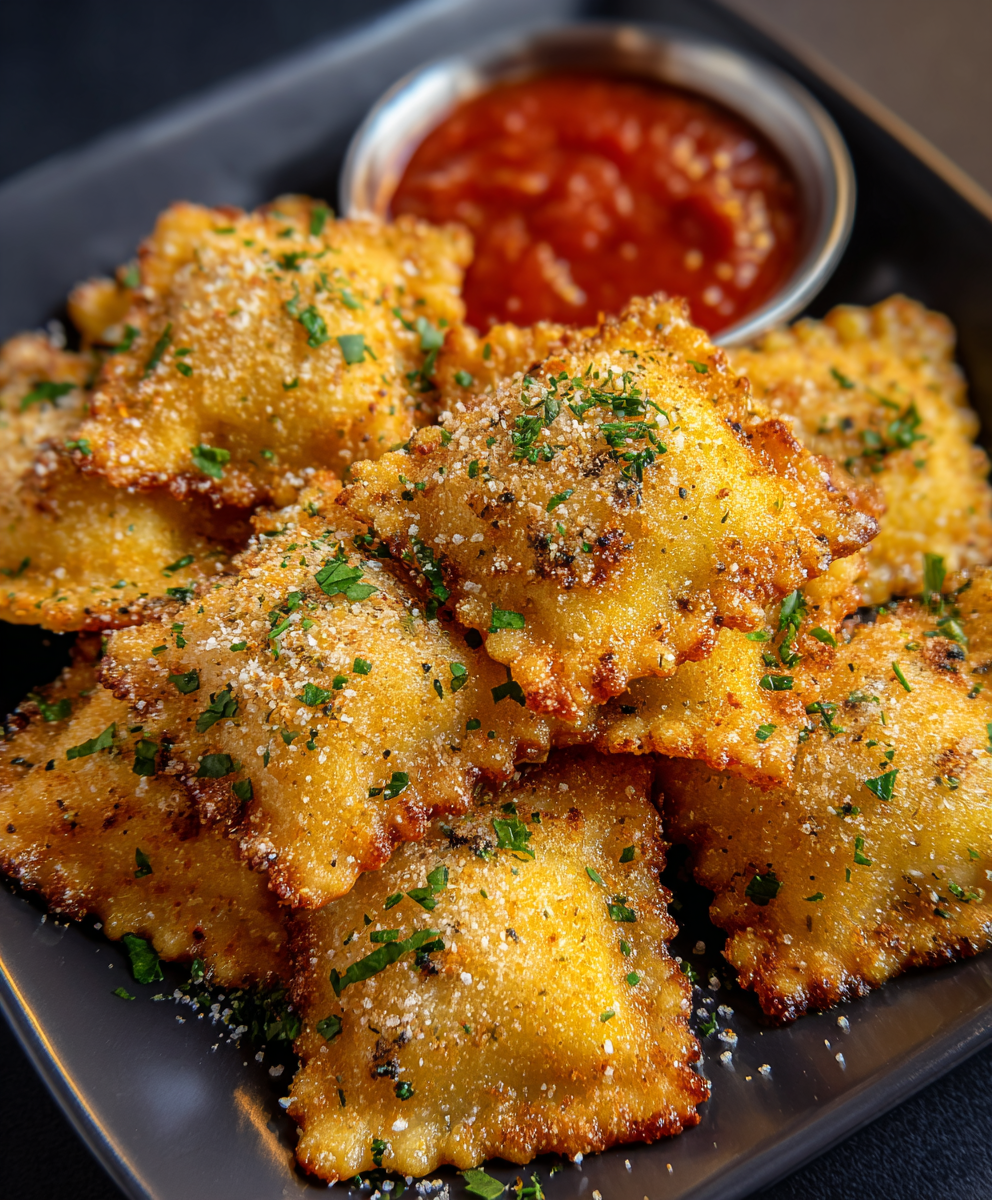
Crispy Toasted Ravioli (Air Fryer or Oven)

Golden, crunchy toasted ravioli ready in minutes—air-fryer crisp or oven-baked comfort served with warm marinara. Perfect for parties, weeknights, or snack cravings.

This batch of toasted ravioli has been a go-to for cozy nights, impromptu gatherings, and game-day snacking. I first discovered this method when I wanted the fried crunch of the restaurant version without the mess of deep frying. Using frozen ravioli straight from the freezer, a seasoned breadcrumb coating, and a quick cook in either an air fryer or a hot oven, I landed on a technique that gives reliably crisp exteriors and warm, tender fillings every time. The contrast between the crunchy shell and the steamy center is what keeps everyone coming back for one more.
I remember the first time I served these at a small family get-together—my niece dunked three pieces in marinara before I could even put the plate down. They disappear fast, and because they are so quick to prepare, they’ve become my favorite last-minute appetizer to bring to potlucks. Whether you choose cheese-filled ravioli, spinach and ricotta, or a meaty filling, the exterior browns evenly and develops a satisfying crunch that pairs beautifully with a robust marinara or a garlic-herb dipping oil.
Why You'll Love This Recipe
- Fast and fuss-free: ready in about 20 minutes using an air fryer and 25–30 minutes in the oven—perfect for weeknights and last-minute guests.
- Uses pantry staples: breadcrumbs, eggs, and Parmesan combine with frozen ravioli so you can keep ingredients on hand for a quick bite.
- Healthier than deep-frying: the air fryer produces the same crunch with significantly less oil; oven-baked method is a great low-oil alternative.
- Versatile: works with any frozen ravioli filling—cheese, spinach, or meat—so you can adapt to dietary preferences.
- Crowd-pleasing and shareable: finger-friendly pieces that are ideal for appetizers, game day, or a casual dinner starter.
- Make-ahead friendly: you can bread them in advance and refrigerate briefly before cooking to save time.
Over the years I’ve tweaked the technique—pressing crumbs firmly, using Italian-seasoned breadcrumbs, and adding a little grated Parmesan for extra umami. Family members now expect these whenever we gather, and I always keep extra frozen ravioli in the freezer for emergency crunchy snacks.
Ingredients
- Frozen ravioli (12–16 pieces): Any filling works—cheese, spinach-ricotta, or meat. Look for full-size ravioli (about 1.5–2 inches across) for the best textural contrast. Popular brands include Rana and Buitoni for cheese varieties.
- Breadcrumbs (1 cup): Italian-seasoned breadcrumbs give instant flavor. Panko can be used for an extra-light crunch; use plain breadcrumbs if you prefer to control seasoning.
- Parmesan cheese (1/2 cup, optional): Finely grated Parmigiano-Reggiano adds savory depth and helps the crumb adhere. Use a finely microplane for even distribution.
- Eggs (2, beaten): Bind the coating. For an egg-free option, substitute with 1/2 cup unsweetened non-dairy milk (such as almond or oat) mixed with 1 tablespoon Dijon mustard for adhesion.
- Cooking spray or olive oil: A light coating helps achieve golden color; use a neutral oil spray or a 1–2 teaspoon drizzle of extra-virgin olive oil for oven baking.
- Marinara sauce: Warm, slightly chunky marinara for dipping. Choose a robust tomato sauce with garlic and basil for contrast—jarred options like Rao’s or homemade sauce both work.
Instructions
Preheat: If using an air fryer, preheat to 375°F (190°C). For the oven, preheat to 400°F (200°C). Preheating ensures the coating begins crisping immediately—this step takes 3–5 minutes for an air fryer and about 10 minutes for an oven. Set up the breading station: In one shallow bowl whisk the 2 beaten eggs until smooth (or combine 1/2 cup non-dairy milk with 1 tablespoon Dijon for an egg-free wash). In a second bowl mix 1 cup breadcrumbs with 1/2 cup grated Parmesan. Spread both bowls so you can coat quickly without the ravioli thawing. Coat each piece: Work with frozen ravioli one at a time: dip into the egg wash, letting excess drip off, then press onto the breadcrumb mixture so crumbs adhere to the edges. Press gently but firmly—this helps the crumbs form a stable crust that won’t fall off during cooking. Air fryer method: Lightly spray the air fryer basket to prevent sticking. Arrange breaded ravioli in a single layer without overcrowding. Lightly mist tops with cooking spray. Cook at 375°F for 10–12 minutes, flipping halfway through. Look for a deep golden-brown color and a crisp shell—internal filling should be hot and steamy. Oven method: Arrange breaded ravioli on a parchment-lined baking sheet. Drizzle or brush lightly with olive oil. Bake at 400°F for 15–20 minutes, turning midway to brown both sides evenly. Remove once the exterior is crisp and the filling is heated through. Serve: Transfer to a plate lined with paper towel briefly to absorb excess oil if needed. Serve hot with warm marinara and enjoy immediately—the crisp texture is best right away.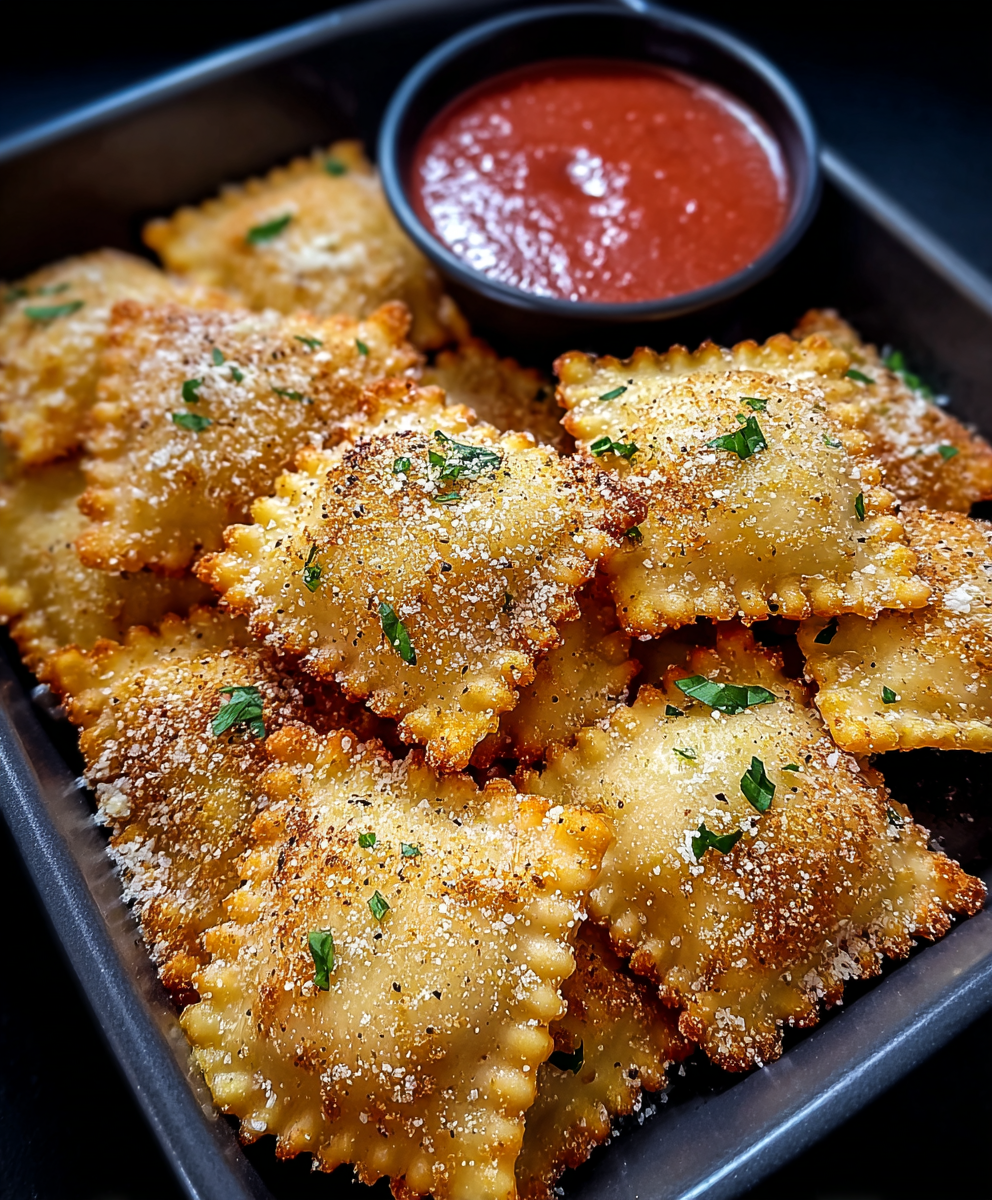
You Must Know
- These are not freezer-to-fryer deep-fried—air frying or baking reduces oil while keeping the crunch; they store well in the fridge for 2 days once cooked.
- Because frozen ravioli contain gluten and often dairy and egg, this preparation is not safe for those with those allergies unless you use specific substitutes.
- To maintain crispness, avoid stacking them while hot; they’ll steam and lose the crust if left piled up.
- They freeze well uncooked after breading: flash-freeze on a tray, then bag for up to 3 months. Cook from frozen, adding a few minutes to the cook time.
My favorite part is the textural contrast—the way the outer shell gives a slightly nutty crunch from the Parmesan while the filling stays creamy. I’ve served these at backyard gatherings and watched them vanish; they’re particularly popular with kids and picky eaters who find them easier to pick up than saucy pasta.
Storage Tips
Once cooked, let pieces cool completely, then store in an airtight container lined with paper towel in the refrigerator for up to 48 hours to preserve crispness. Reheat in the air fryer at 350°F for 3–5 minutes or in a 375°F oven for 6–8 minutes to restore crunch. If you plan to freeze, bread the ravioli and place them on a tray in a single layer to freeze solid (about 1–2 hours), then transfer to freezer-safe bags for up to 3 months. Do not thaw completely before cooking to avoid sogginess—cook directly from frozen, adding a couple of minutes to the time.
Ingredient Substitutions
If you need gluten-free, look for gluten-free frozen ravioli and use certified gluten-free breadcrumbs or crushed gluten-free crackers. For egg-free or vegan diets, swap the beaten eggs with 1/2 cup unsweetened non-dairy milk plus 1 tablespoon Dijon mustard or aquafaba (chickpea liquid) to create a sticky wash; replace Parmesan with nutritional yeast or a vegan grated cheese for savory flavor. Panko yields an airier crunch while fine Italian breadcrumbs produce a more uniform coating—mixing the two gives the best balance of crunch and adherence.
Serving Suggestions
Serve warm on a platter with a shallow bowl of marinara for dipping and garnish with chopped fresh basil or parsley and extra grated Parmesan at the table. For a party setup, include small ramekins of garlic butter, pesto, or spicy arrabbiata sauce. Pair with a crisp salad and a light white wine such as Pinot Grigio, or keep it casual with beer at game time. Presentation tip: line the serving tray with parchment and sprinkle a little paprika or lemon zest on top for color contrast.
Cultural Background
Toasted ravioli is popularly associated with St. Louis, Missouri, where a variation of fried ravioli became a local specialty in Italian-American neighborhoods. The idea of breading and frying filled pasta is rooted in the Italian tradition of creating textural contrasts—crispy exteriors with soft interiors—and this American adaptation turned a humble frozen convenience into a beloved bar snack. Over time, cooks have adapted the method to air frying and baking, preserving the spirit of the dish while making it more accessible for home cooks.
Seasonal Adaptations
In colder months, choose hearty meat or mushroom-filled ravioli and serve with a rich slow-simmered tomato sauce or a roasted red pepper dip. In spring and summer, try spinach-and-ricotta or lemon-and-herb fillings and pair with a light tomato-caper sauce or basil pesto. For holiday parties, use small flavored ravioli—like truffle or butternut squash—and garnish with toasted pine nuts or microgreens for an elevated appetizer that still cooks quickly.
Meal Prep Tips
For make-ahead convenience: bread a double batch, freeze the unbaked pieces in a single layer, and store in freezer bags. On the day you want to serve, cook straight from frozen—air fryer times usually increase by 2–4 minutes, oven by 3–6 minutes—until golden and hot. Pack in insulated containers for transport and re-crisp in an oven or air fryer at your destination. Bring marinara in a small insulated thermos or heat on-site for best dipping temperature.
These toasted ravioli are simple to adapt, quick to prepare, and always a crowd favorite. Try them once and you’ll understand why they became a staple in my repertoire—crispy, comforting, and endlessly customizable.
Pro Tips
Press breadcrumbs firmly onto each ravioli so they adhere during cooking and don’t flake off.
Use a mix of panko and Italian breadcrumbs for the best balance of crunch and coverage.
Cook in a single layer without overcrowding to ensure even browning and crispness.
If making ahead, flash-freeze breaded pieces on a tray before bagging to prevent sticking.
Re-crisp leftovers in the air fryer at 350°F for 3–5 minutes rather than microwaving to avoid sogginess.
This nourishing crispy toasted ravioli (air fryer or oven) recipe is sure to be a staple in your kitchen. Enjoy every moist, high protein slice — it is perfect for breakfast or as a wholesome snack any time.
FAQs about Recipes
Can you cook the ravioli from frozen?
Cook from frozen in the air fryer at 375°F for 10–12 minutes, flipping halfway; in the oven at 400°F for 15–20 minutes, turning once.
Can I bread in advance and freeze?
Bread them, freeze on a tray until solid, then store in a bag for up to 3 months. Cook directly from frozen when ready.
Tags
Crispy Toasted Ravioli (Air Fryer or Oven)
This Crispy Toasted Ravioli (Air Fryer or Oven) recipe makes perfectly juicy, tender, and flavorful steak every time! Serve with potatoes and a side salad for an unforgettable dinner in under 30 minutes.
Instructions
Preheat
Preheat the air fryer to 375°F (190°C) or the oven to 400°F (200°C). Preheating ensures the coating crisps right away.
Set up breading station
Place beaten eggs (or non-dairy milk) in one shallow bowl and mix breadcrumbs with grated Parmesan in another. Arrange so you can work quickly.
Coat ravioli
Dip each frozen ravioli into the egg wash, let excess drip, then press into the breadcrumb mixture to ensure crumbs stick. Work one at a time.
Air fryer method
Lightly spray the basket, arrange ravioli in a single layer, mist the tops with spray, and cook 10–12 minutes at 375°F, flipping halfway, until golden.
Oven method
Place breaded ravioli on parchment-lined sheet, drizzle lightly with olive oil, bake at 400°F for 15–20 minutes, turning once for even browning.
Serve
Serve immediately with warm marinara or preferred dipping sauce. Reheat leftovers in the air fryer to restore crispness.
Last Step: Please leave a rating and comment letting us know how you liked this recipe! This helps our business to thrive and continue providing free, high-quality recipes for you.
Nutrition
Did You Make This?
Leave a comment & rating below or tag
@moodcooks on social media!
Categories:
You might also like...
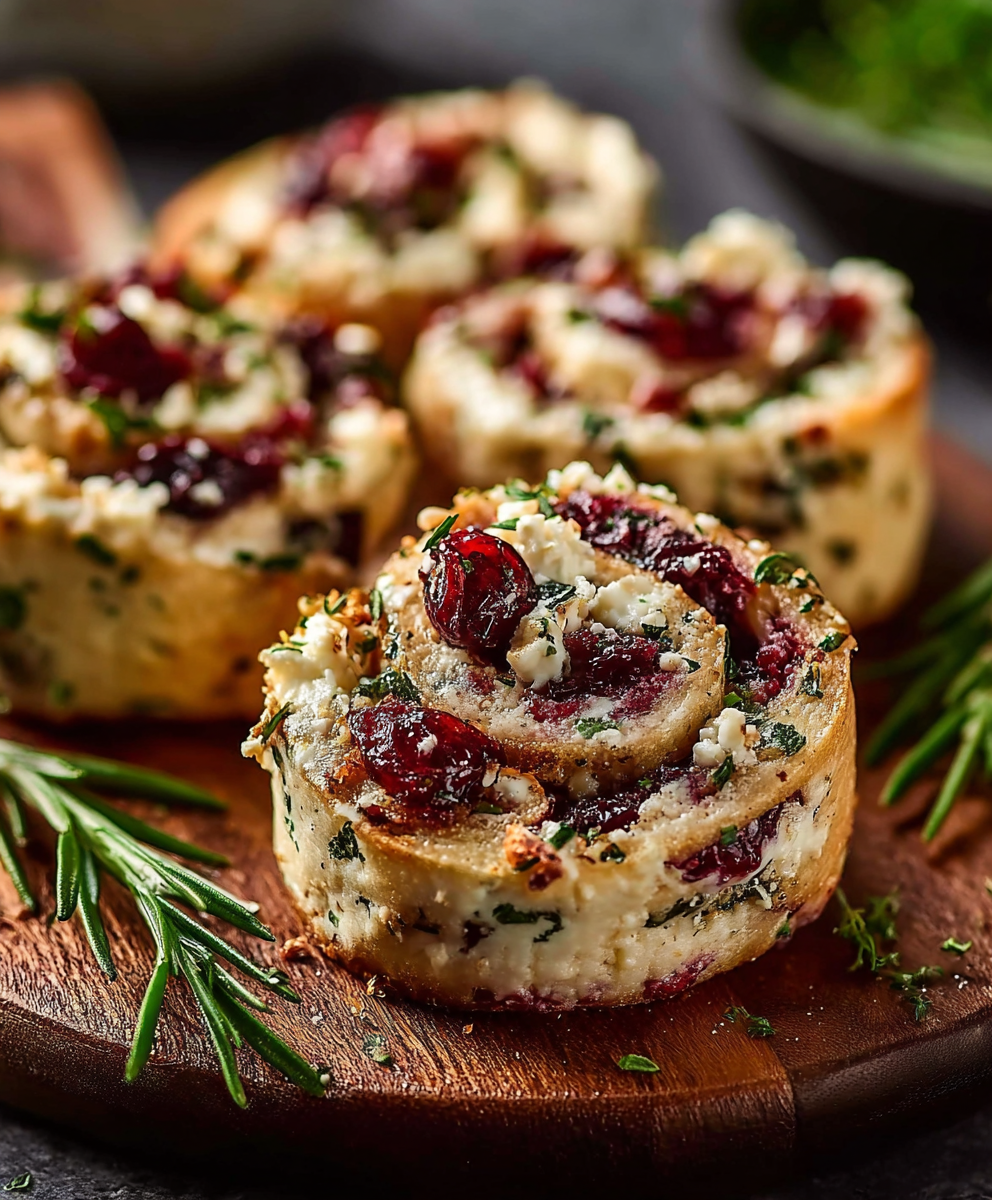
Cranberry Cream Cheese Pinwheels with Feta & Herbs
Buttery puff pastry rolled with tangy cream cheese, bright cranberries, salty feta and fresh herbs — effortless, elegant pinwheels perfect for gatherings or a cozy snack.
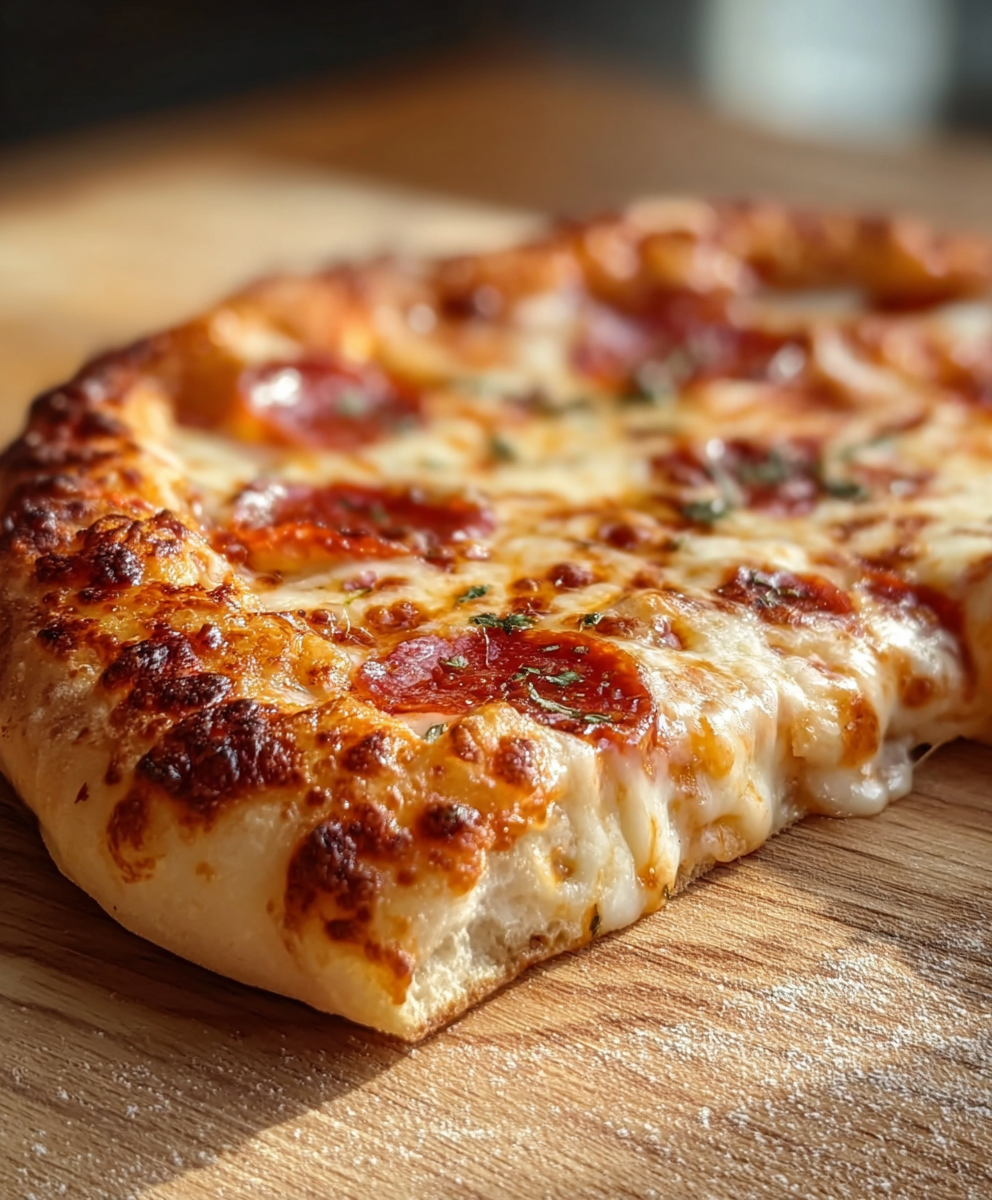
Artisan Pizza Dough — Crispy, Chewy, Bubbly Crust
A simple, reliable dough that produces a crispy exterior, chewy interior and those coveted bubbly pockets — perfect for home ovens or a pizza stone.
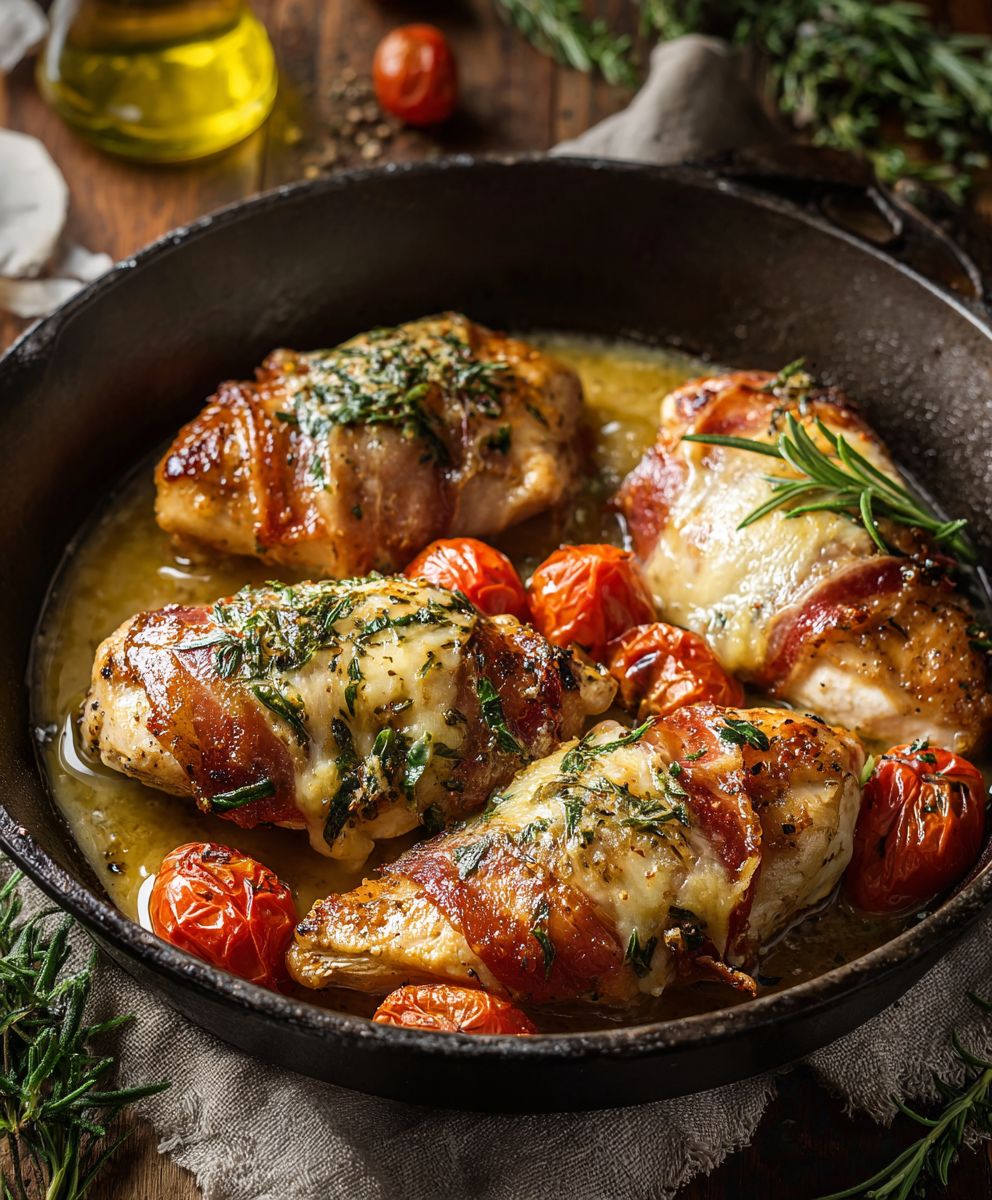
Italian Chicken Saltimbocca
Tender chicken breasts wrapped in prosciutto and sage, pan-seared and finished in a bright wine-and-broth sauce — a quick, elegant weeknight favorite.
Did You Make This?
Leave a comment & rating below or tag @moodcooks on social media!
Rate This Recipe
Share This Recipe
Enjoyed this recipe? Share it with friends and family, and don't forget to leave a review!
Comments (1)
This recipe looks amazing! Can't wait to try it.
Comments are stored locally in your browser. Server comments are displayed alongside your local comments.

Hi, I'm Olivia!
What's Popular
30-Minute Meals!
Join to receive our email series which contains a round-up of some of our quick and easy family favorite recipes.