
Candy Cane Cookies

Delicate peppermint-swirled cookies shaped like miniature candy canes; buttery, crisp at the edges and tender inside, perfect for holiday trays and gift tins.

This simple candy cane cookie is one of those small pleasures that turns a holiday afternoon into a memory. I first worked the dough for these when I was wrapping gifts and wanted something that looked festive and felt handmade. The result was a tiny, peppermint-scented cookie that snaps cleanly at the edge and melts in the center. It reminds me of childhood cookie swaps and the way the kitchen smelled of sugar and vanilla on a snowy morning. The shaping is playful and slightly meditative so it makes for a fun activity with kids or friends.
The balance in this recipe comes from a tender, butter-forward dough and just a whisper of peppermint extract so the flavor is bright but never overpowering. Red gel coloring gives you vivid stripes without adding extra liquid to the dough. Because the pieces are small, they bake quickly and reward you with a perfect light golden base and a candy-like appearance. These are best the day they are made but will keep beautifully if stored correctly.
Why You'll Love This Recipe
- Quick to prepare; the dough comes together in about 20 minutes and most cookies bake in 8 to 10 minutes so you can have a full batch in under 40 minutes.
- Uses pantry staples you likely already have: butter, powdered sugar, all-purpose flour, and an egg so it is great for last-minute baking.
- Kid friendly shaping; rolling ropes and twisting the two colors is simple and makes a great holiday activity for a small group.
- Visually festive; the red and white stripe is classic and looks impressive on a cookie platter or in gift tins without any icing.
- Make-ahead friendly; you can form the ropes and chill them for later baking or freeze shaped pieces raw for up to one month.
When I first served these at a small party the reaction was immediate everyone loved the delicate peppermint, and the way they looked sparked conversation. Several friends asked for the recipe and another made them the next day. They travel well too and make great edible gifts; I often tuck a dozen into a small box with tissue paper and a ribbon.
Ingredients
- Unsalted butter, 1 cup (2 sticks): Use a high quality butter such as Plugra or Kerrygold when possible; softened to room temperature ensures quicker creaming and a lighter texture.
- Powdered sugar, 1 cup: Also labeled confectioners sugar; Domino or C&H work well; it adds a smooth, slightly denser sweetness that helps the cookies keep a pale, candy-like finish.
- Large egg, 1 (room temperature): Room temperature eggs incorporate more evenly and help the dough bind without overworking; if your kitchen is cold, let the egg sit in warm water for a few minutes.
- Vanilla extract, 1 teaspoon: Pure vanilla adds background warmth; I reach for McCormick pure vanilla for a reliable flavor.
- Peppermint extract, 1/2 teaspoon: A little goes a long way; use high quality peppermint extract for a clean, true mint note rather than artificial bite.
- All-purpose flour, 2 1/2 cups: King Arthur or Gold Medal are both dependable choices; spoon and level the flour into the cup for accurate measurement.
- Salt, 1/2 teaspoon: Fine salt such as Diamond Crystal or Morton balances the sweetness and brightens the peppermint.
- Red gel food coloring: Gel is preferred because it colors strongly without thinning the dough; AmeriColor gels give vivid results.

Instructions
Preheat the oven and prepare pans Set the oven to 375°F. Line baking sheets with parchment or a silicone mat so bottoms color evenly and cookies remove cleanly. Use a rack in the center of the oven for most even heat. Cream butter and sugar In a stand mixer fitted with the paddle or with a hand mixer, beat the softened butter and powdered sugar on medium speed for 3 to 4 minutes until pale and fluffy. Scrape the bowl once to ensure even aeration which gives a light texture. Add egg and extracts Add the room temperature egg, vanilla, and peppermint extract. Mix on low until incorporated then increase to medium briefly to emulsify. The batter should be smooth and glossy preventing dry pockets of flour later. Combine dry ingredients Whisk the flour and salt in a separate bowl. With the mixer on low, add the dry mix gradually until just combined. The dough should be soft and not sticky; if it clings to your fingers a little dust it with a teaspoon of flour. Divide and color Split the dough into two equal portions. Add a small amount of red gel to one half and knead lightly until uniformly colored. Avoid adding liquid coloring which will change the dough texture. Shape into candy canes Pinch off about 1 teaspoon of each color. Roll each into a rope roughly 4 inches long then place the red and white ropes side by side and twist once or twice to create the striped effect. Gently curve the top to form a cane shape. Keep shapes uniform so baking is even. Bake Arrange shaped cookies on the prepared sheets with small spacing. Bake 8 to 10 minutes until the bottoms are lightly golden and edges just set. Watch closely at the 8 minute mark to prevent overbaking. Cool Let cookies rest on the baking sheet for 5 minutes to firm up then transfer to a cooling rack. They will crisp further as they cool and retain their white stripes.
You Must Know
- These pieces keep well in an airtight container at room temperature for up to five days and in the refrigerator for up to two weeks when stored between layers of parchment.
- They freeze well before baking; shape the pieces, flash freeze on a tray and then transfer to a sealed bag for up to three months. Bake from frozen adding an extra minute or two as needed.
- Because the pieces are small they bake quickly so sizing consistency is important for even results every batch.
- High in simple carbohydrates and fat as many cookies are; portion control makes it easier to enjoy them regularly without excess.
My favorite part about these is the shaping ritual; rolling the ropes and twisting colors always calms me in a way that larger projects do not. Family members often join in and we trade little anecdotes while forming the canes. One year we made a whole sheet of mismatched shapes and the variety made everyone laugh; they tasted exactly the same but looked like an art class experiment which became a favorite memory.
Storage Tips
Store cooled pieces in a single layer or with parchment layers in between to prevent sticking. Use an airtight tin or container and keep them at room temperature away from direct sunlight to maintain crispness. For longer storage freeze shaped raw pieces on a tray then move to a resealable freezer bag and label with the date. When reheating refrigerated cookies refresh in a 300°F oven for five minutes to regain snap. Indicators of staleness include a soft center and loss of peppermint aroma which suggests the cookie has absorbed moisture.
Ingredient Substitutions
For a dairy free version replace butter with a plant based stick margarine that is solid at room temperature. If you need egg free swap the egg for a commercial egg replacer or 3 tablespoons aquafaba for a similar binder though texture will be slightly more delicate. Use natural peppermint oil sparingly because it is stronger than extract; halve the quantity. If you do not have gel coloring small amounts of liquid red can be used but add just a drop at a time and compensate by chilling the dough for 10 minutes before shaping so it firms up.
Serving Suggestions
Arrange on a decorative platter for holiday parties alongside dark chocolate squares and sugared cranberries for a festive contrast. Pair with hot chocolate or mulled cider because the peppermint cleanses the palate between sips. For gifting stack in small tins with tissue and a sprig of rosemary or tie bundles with baker's twine for an old fashioned look. They also make charming edible gift tags when attached to packages with ribbon.
Cultural Background
Striped peppermint confections are a classic holiday symbol in many Western cultures and are especially associated with Christmas traditions. The candy cane shape is said to have originated in the 17th century as a sweet treat given to children during long church services; later the curved shape became linked to shepherds from nativity stories. The red and white coloring and mint flavoring became popular in the 19th and 20th centuries and now appear in cookies, candies, and beverages around the season.
Seasonal Adaptations
In winter keep the peppermint and classic red stripes. For other seasons swap peppermint for lemon extract and use yellow gel to create spring canes. For a chocolate variation fold 1/4 cup cocoa into the red portion for a marbled chocolate peppermint effect. Add finely chopped candied orange peel to the dough in small amounts for a citrus twist in late autumn which plays beautifully with the vanilla base.
Meal Prep Tips
Make the dough ahead and refrigerate for up to 48 hours wrapped tightly. If you plan to bake over several days shape ropes and arrange them on a parchment lined tray then cover and store in the fridge so you can bake fresh small batches whenever needed. For freezer prep shape and flash freeze on trays, then transfer to bags; bake straight from frozen adding a minute to the oven time. Label everything with dates so you rotate older batches first.
These miniature candy canes are deceptively simple yet endlessly charming. They are the sort of small handcrafted item that feels special whether you give them away or keep them for the people at your table. Try a batch this weekend and personalize the twist; once you find your ideal pepperment to butter ratio you will come back to this method every year.
Pro Tips
Use gel coloring to avoid changing dough consistency and achieve vivid stripes.
Chill colored dough briefly if it becomes too soft to roll for cleaner ropes.
Measure flour by spooning into the cup and leveling to prevent a dense cookie.
Watch small cookies closely in the oven; start checking at 8 minutes for best results.
Flash freeze shaped pieces before storing to prevent them from sticking together.
This nourishing candy cane cookies recipe is sure to be a staple in your kitchen. Enjoy every moist, high protein slice — it is perfect for breakfast or as a wholesome snack any time.
Tags
Candy Cane Cookies
This Candy Cane Cookies recipe makes perfectly juicy, tender, and flavorful steak every time! Serve with potatoes and a side salad for an unforgettable dinner in under 30 minutes.
Ingredients
Main
Instructions
Preheat and prepare
Preheat oven to 375°F and line baking sheets with parchment or silicone mats. Position oven racks in the center for even heat.
Cream butter and sugar
Beat softened butter and powdered sugar for 3 to 4 minutes until pale and fluffy, scraping the bowl once for even aeration.
Add egg and extracts
Mix in the room temperature egg, vanilla, and peppermint extract on low until combined then briefly on medium to emulsify.
Incorporate dry ingredients
Whisk flour and salt then add gradually to the wet mixture on low speed until a soft, non sticky dough forms.
Divide and color
Split dough into two equal parts, tint one with red gel food coloring until even in tone while keeping the other portion white.
Shape into candy canes
Roll 1 teaspoon of each color into 4 inch ropes, place side by side and twist then bend to form a cane. Keep sizes consistent for even baking.
Bake and cool
Bake 8 to 10 minutes until bottoms are lightly golden. Cool on the baking sheet for 5 minutes then transfer to a rack to finish cooling.
Last Step: Please leave a rating and comment letting us know how you liked this recipe! This helps our business to thrive and continue providing free, high-quality recipes for you.
Nutrition
Did You Make This?
Leave a comment & rating below or tag
@moodcooks on social media!
Categories:
You might also like...
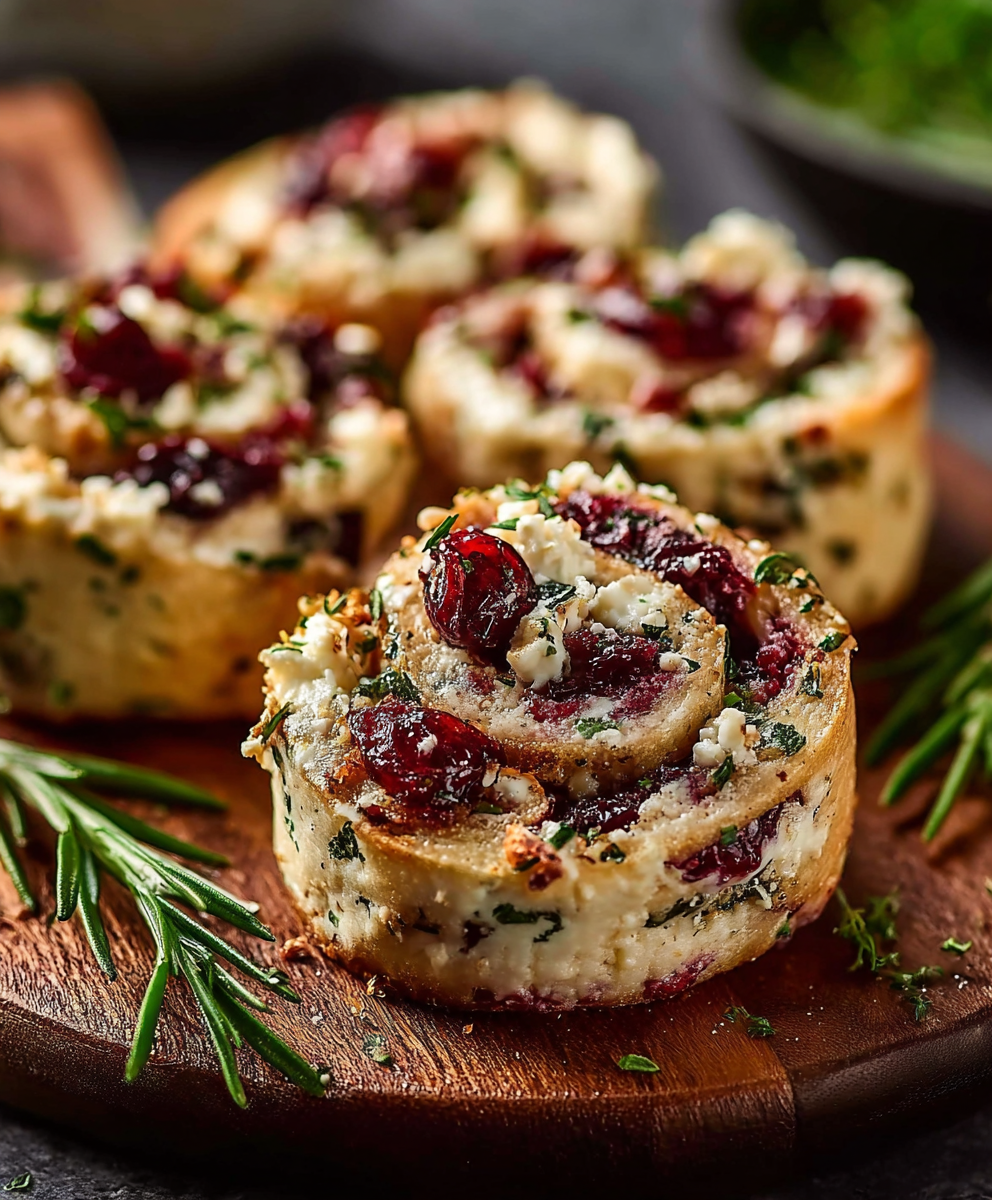
Cranberry Cream Cheese Pinwheels with Feta & Herbs
Buttery puff pastry rolled with tangy cream cheese, bright cranberries, salty feta and fresh herbs — effortless, elegant pinwheels perfect for gatherings or a cozy snack.

Artisan Pizza Dough — Crispy, Chewy, Bubbly Crust
A simple, reliable dough that produces a crispy exterior, chewy interior and those coveted bubbly pockets — perfect for home ovens or a pizza stone.

Italian Chicken Saltimbocca
Tender chicken breasts wrapped in prosciutto and sage, pan-seared and finished in a bright wine-and-broth sauce — a quick, elegant weeknight favorite.
Did You Make This?
Leave a comment & rating below or tag @moodcooks on social media!
Rate This Recipe
Share This Recipe
Enjoyed this recipe? Share it with friends and family, and don't forget to leave a review!
Comments (1)
This recipe looks amazing! Can't wait to try it.
Comments are stored locally in your browser. Server comments are displayed alongside your local comments.

Hi, I'm Olivia!
What's Popular
30-Minute Meals!
Join to receive our email series which contains a round-up of some of our quick and easy family favorite recipes.